Embedded Container Service (ECS) Deployment
This article explains the necessary steps to install the ECS platform upon successful deployment and configuration of CDP PvC Base cluster. Please ensure that all the prerequisites have already been prepared accordingly.
Sanity Check
Ensure that JDK has already been installed in each ECS node.
 # rpm -qa | grep jdk
 copy-jdk-configs-3.3-10.el7_5.noarch
 java-11-openjdk-11.0.14.1.1-1.el7_9.x86_64
 java-11-openjdk-headless-11.0.14.1.1-1.el7_9.x86_64
 java-11-openjdk-devel-11.0.14.1.1-1.el7_9.x86_64
The external DNS server must contain the forward and reverse zones of the company domain name. The external DNS server must be able to resolve the hostname of all ECS nodes and the 3rd party components (includes Kerberos, LDAP server, external database, NFS server) and perform reverse DNS lookup. Repeat this step for every ECS node.
 # nslookup idm
 Server:	10.15.4.150
 Address:	10.15.4.150#53

 Name:	idm.cdpkvm.cldr
 Address: 10.15.4.150

 # nslookup 10.15.4.150
 150.4.15.10.in-addr.arpa	name = idm.cdpkvm.cldr.
NTP client of each ECS node is synchronizing time with the external NTP server.
Ensure that ECS master node is able to resolve
console-cdp.apps.ecs1.cdpkvm.cldrto the IP address of ECS master/server node or the Load Balancer (if being used).# nslookup console-cdp.apps.ecs1.cdpkvm.cldr Server: 10.15.4.150 Address: 10.15.4.150#53 Name: console-cdp.apps.ecs1.cdpkvm.cldr Address: 10.15.4.166If Nvidia GPU card is involved, please install the Nvidia driver and its associated software as described in this topic.
ECS Platform Installation
Navigate to
Clusters>Add Cluster. SelectData Servicesand clickContinue.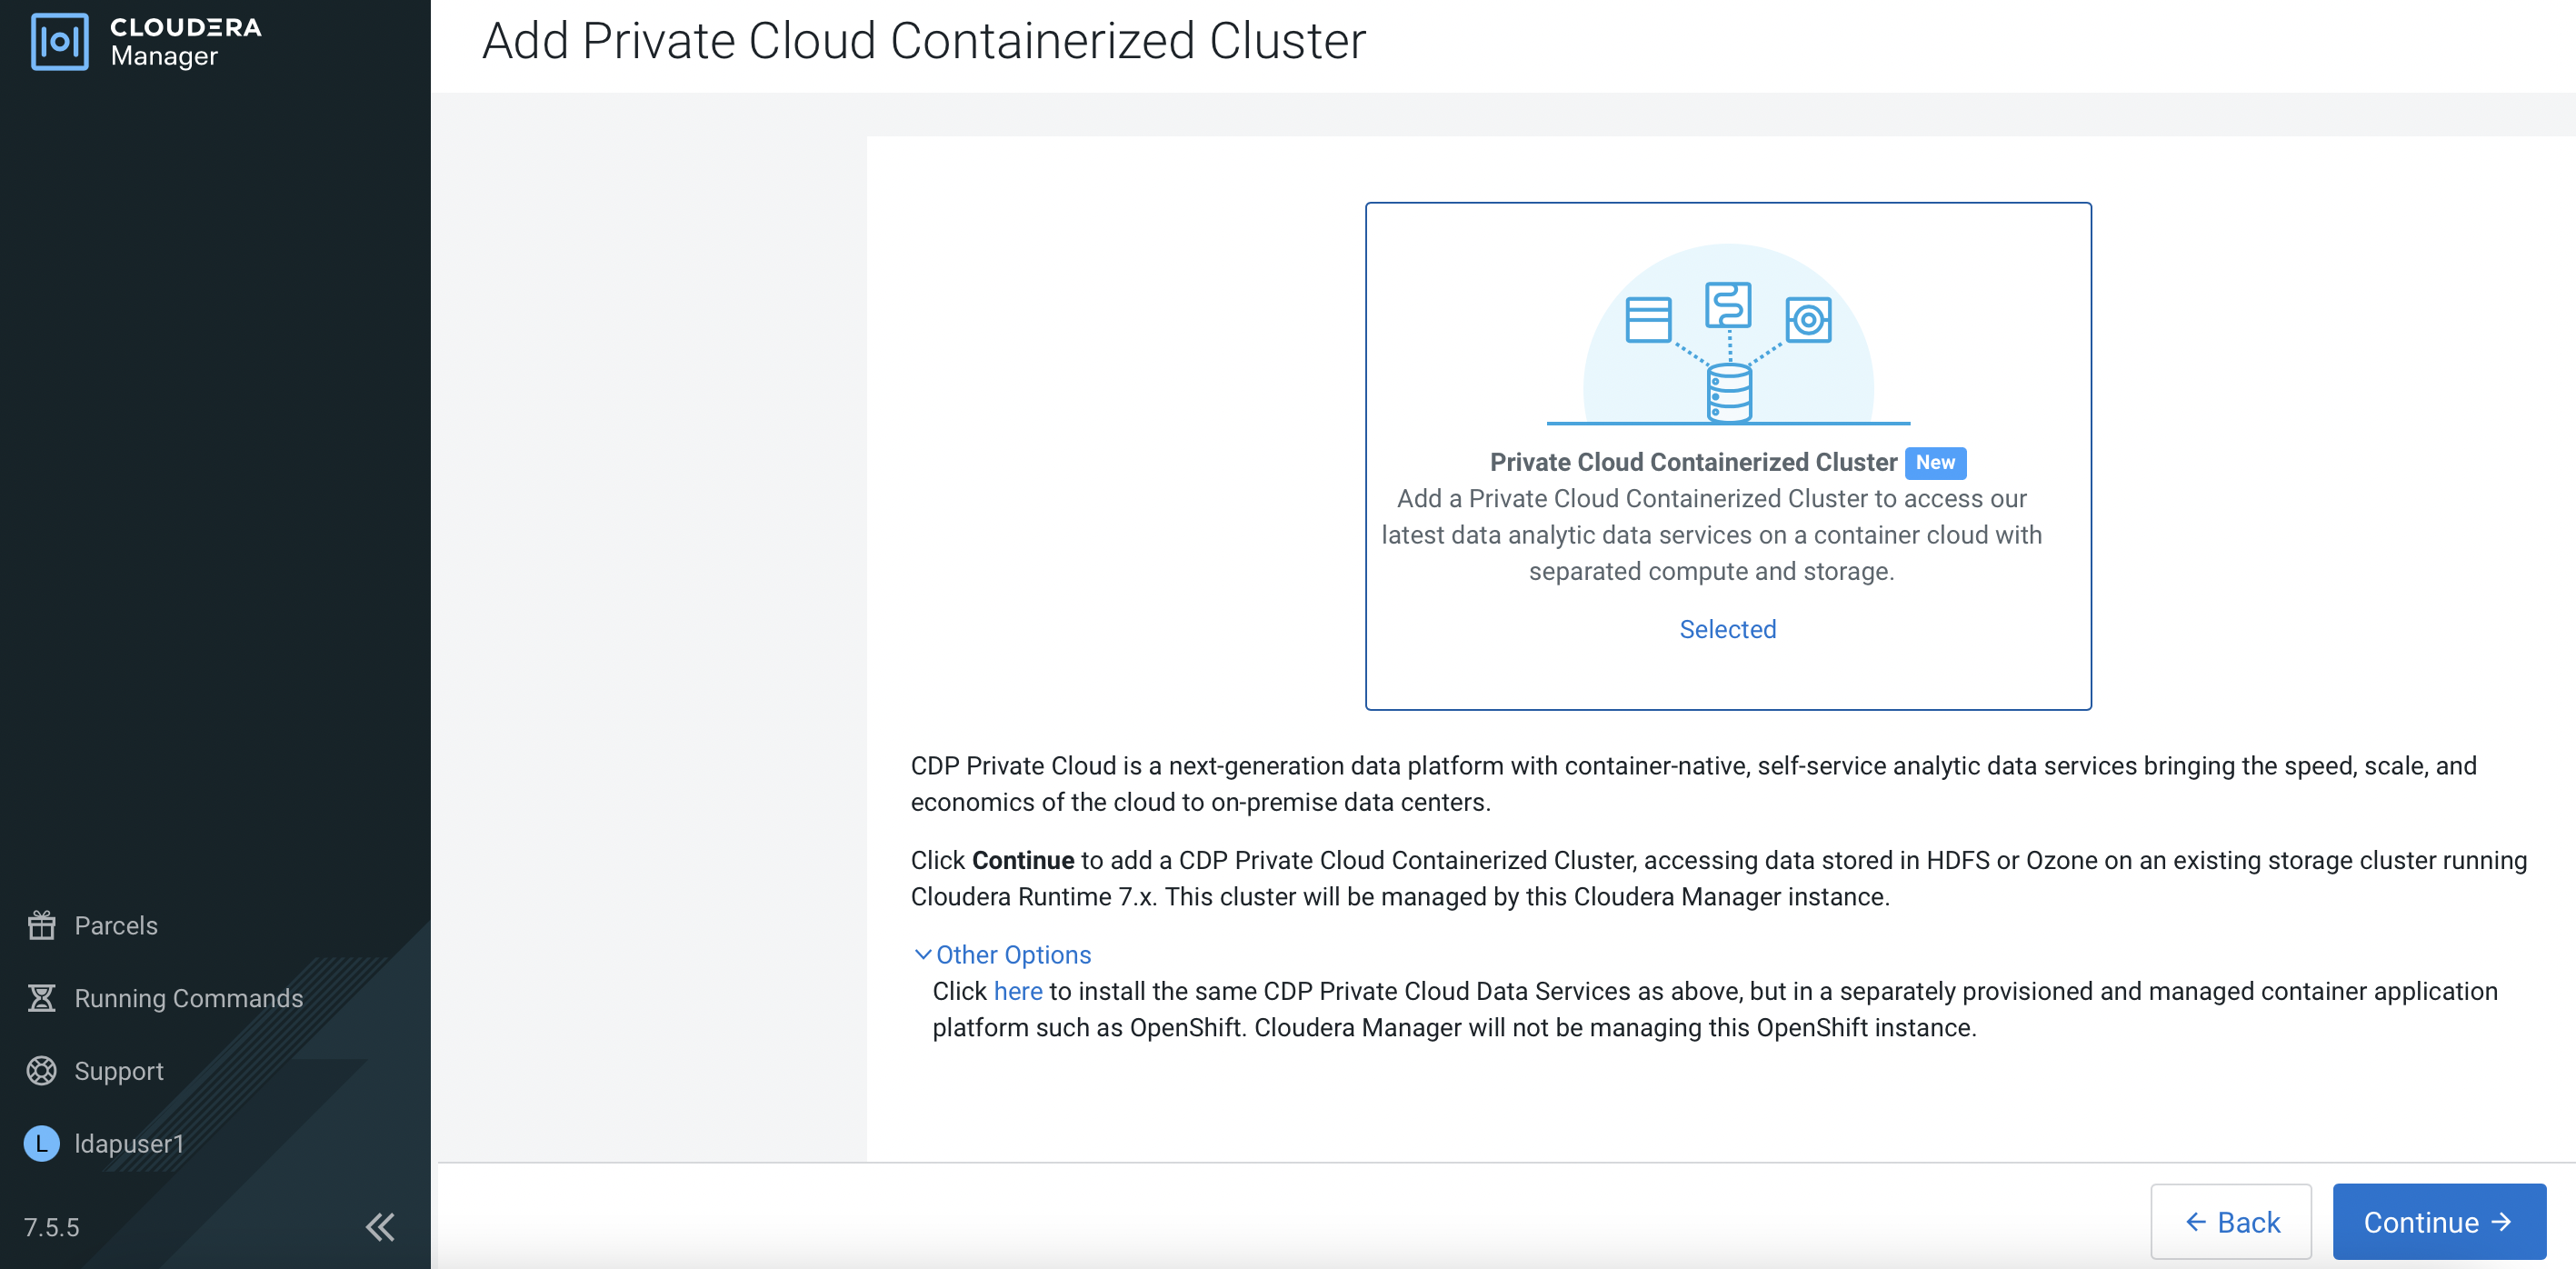
Select
Internetand clickContinue.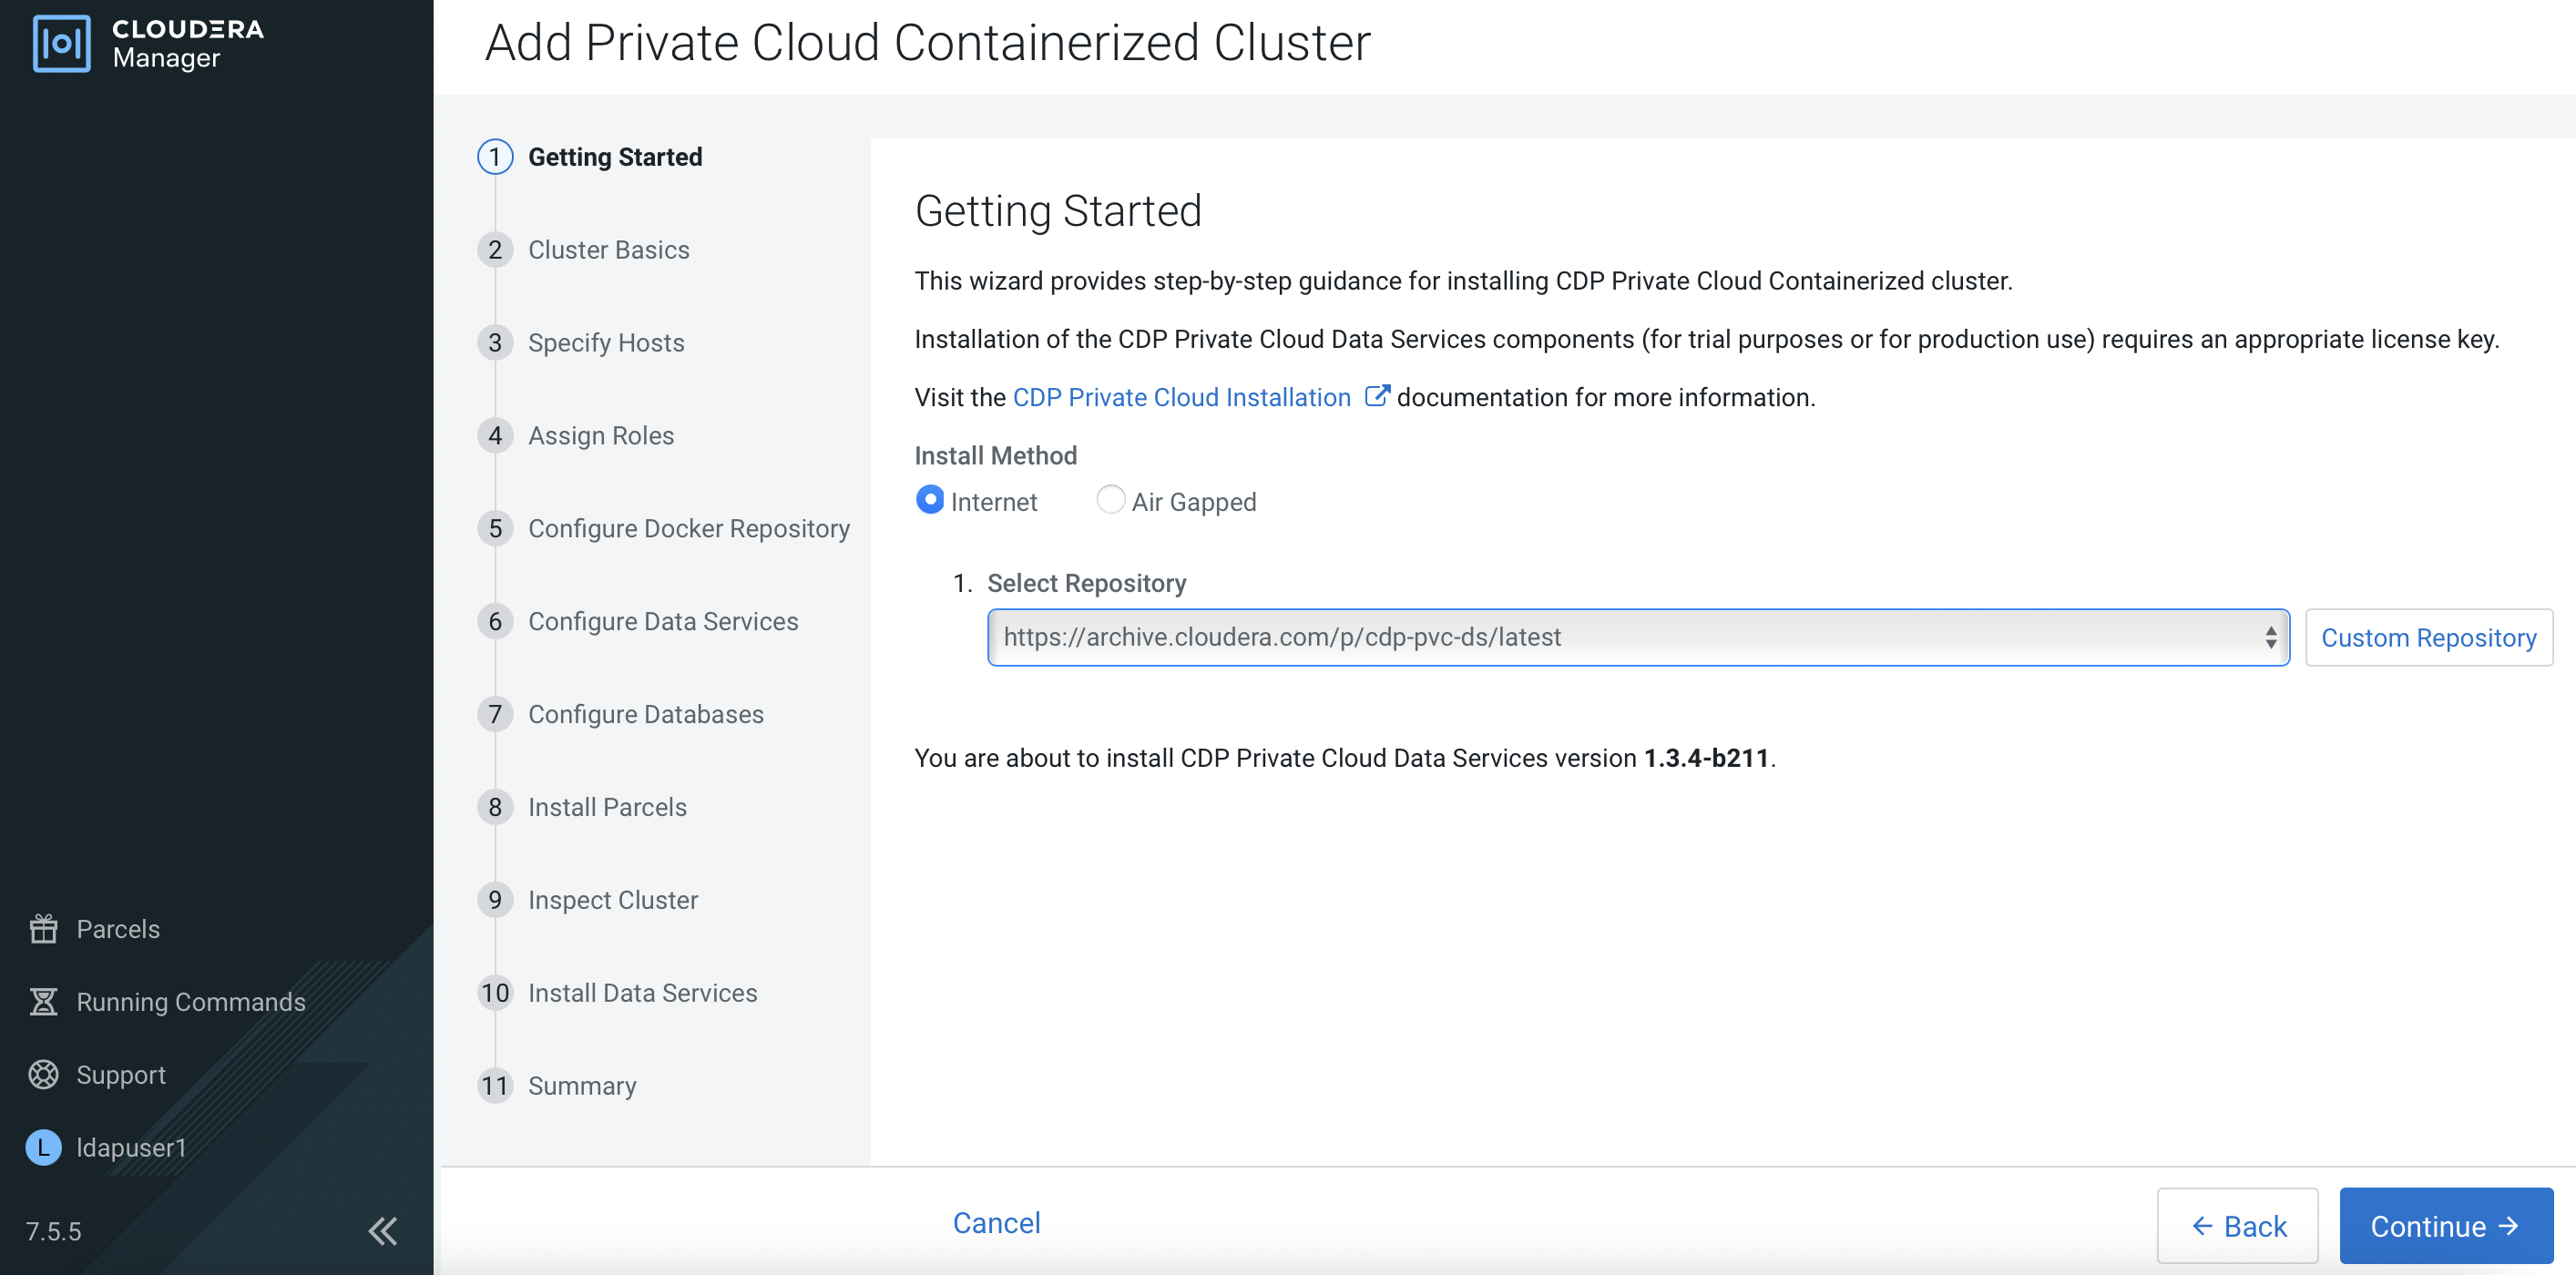
Enter the FQDN of each ECS node and click
Search. Upon successful scan, the hostname alongside each host’s IP address will appear. Check the details before clickingContinue.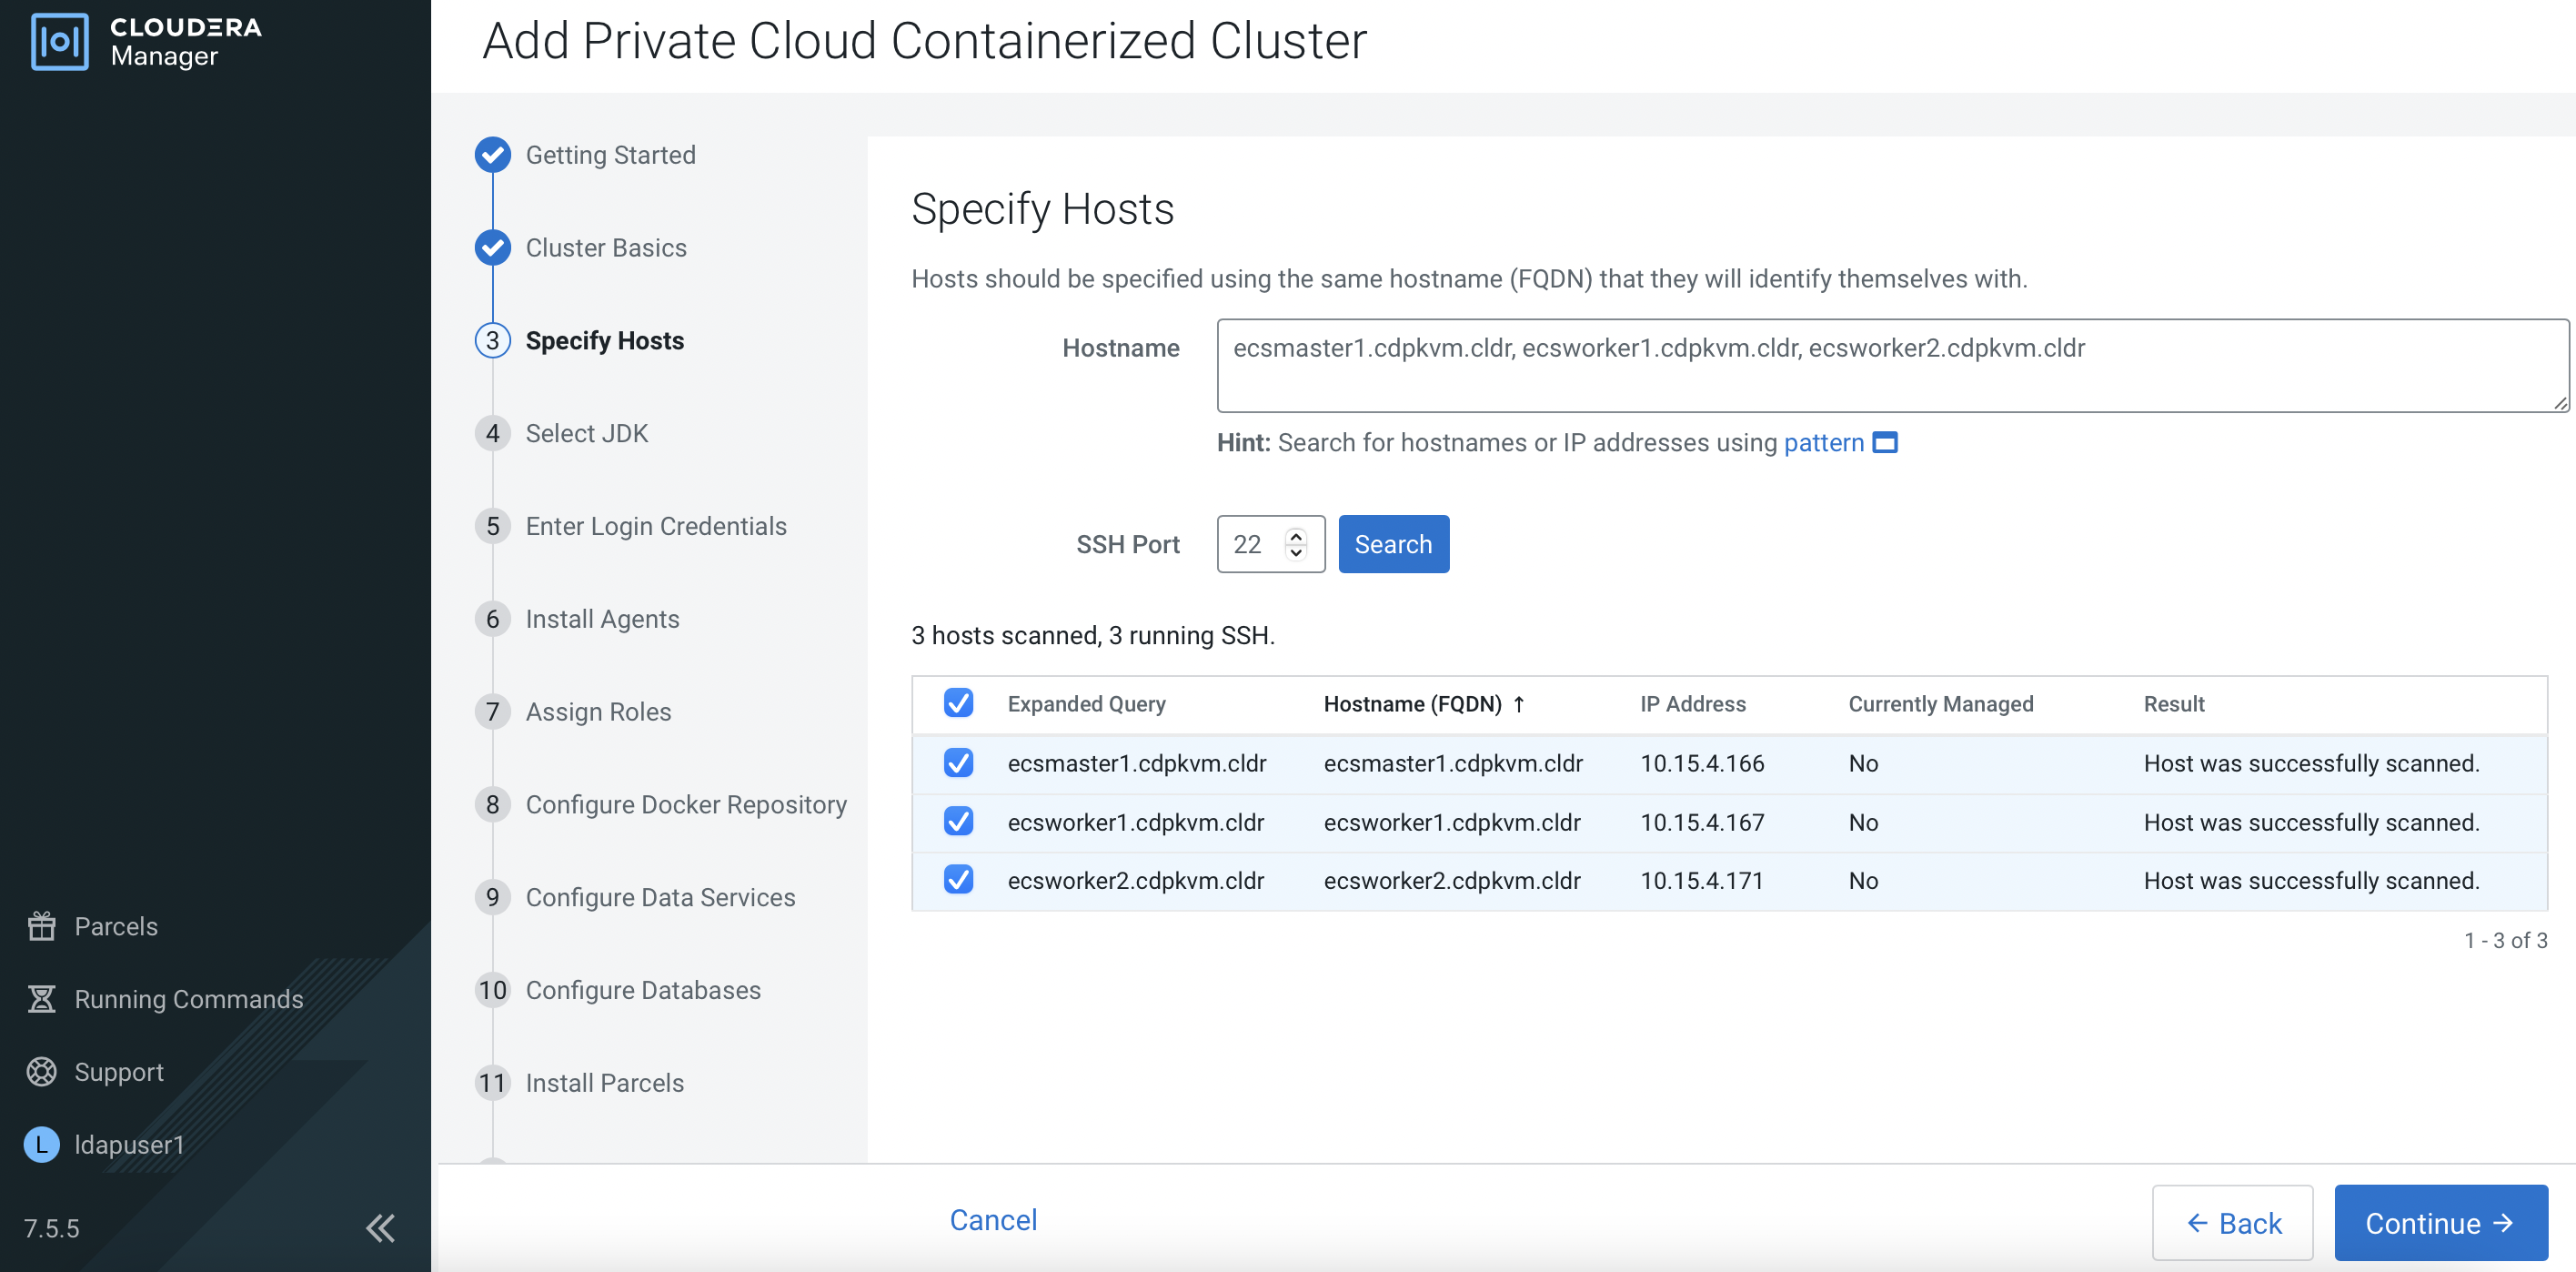
Ensure that JDK has already been installed in each ECS node. Select
Manually manage JDKand clickContinue.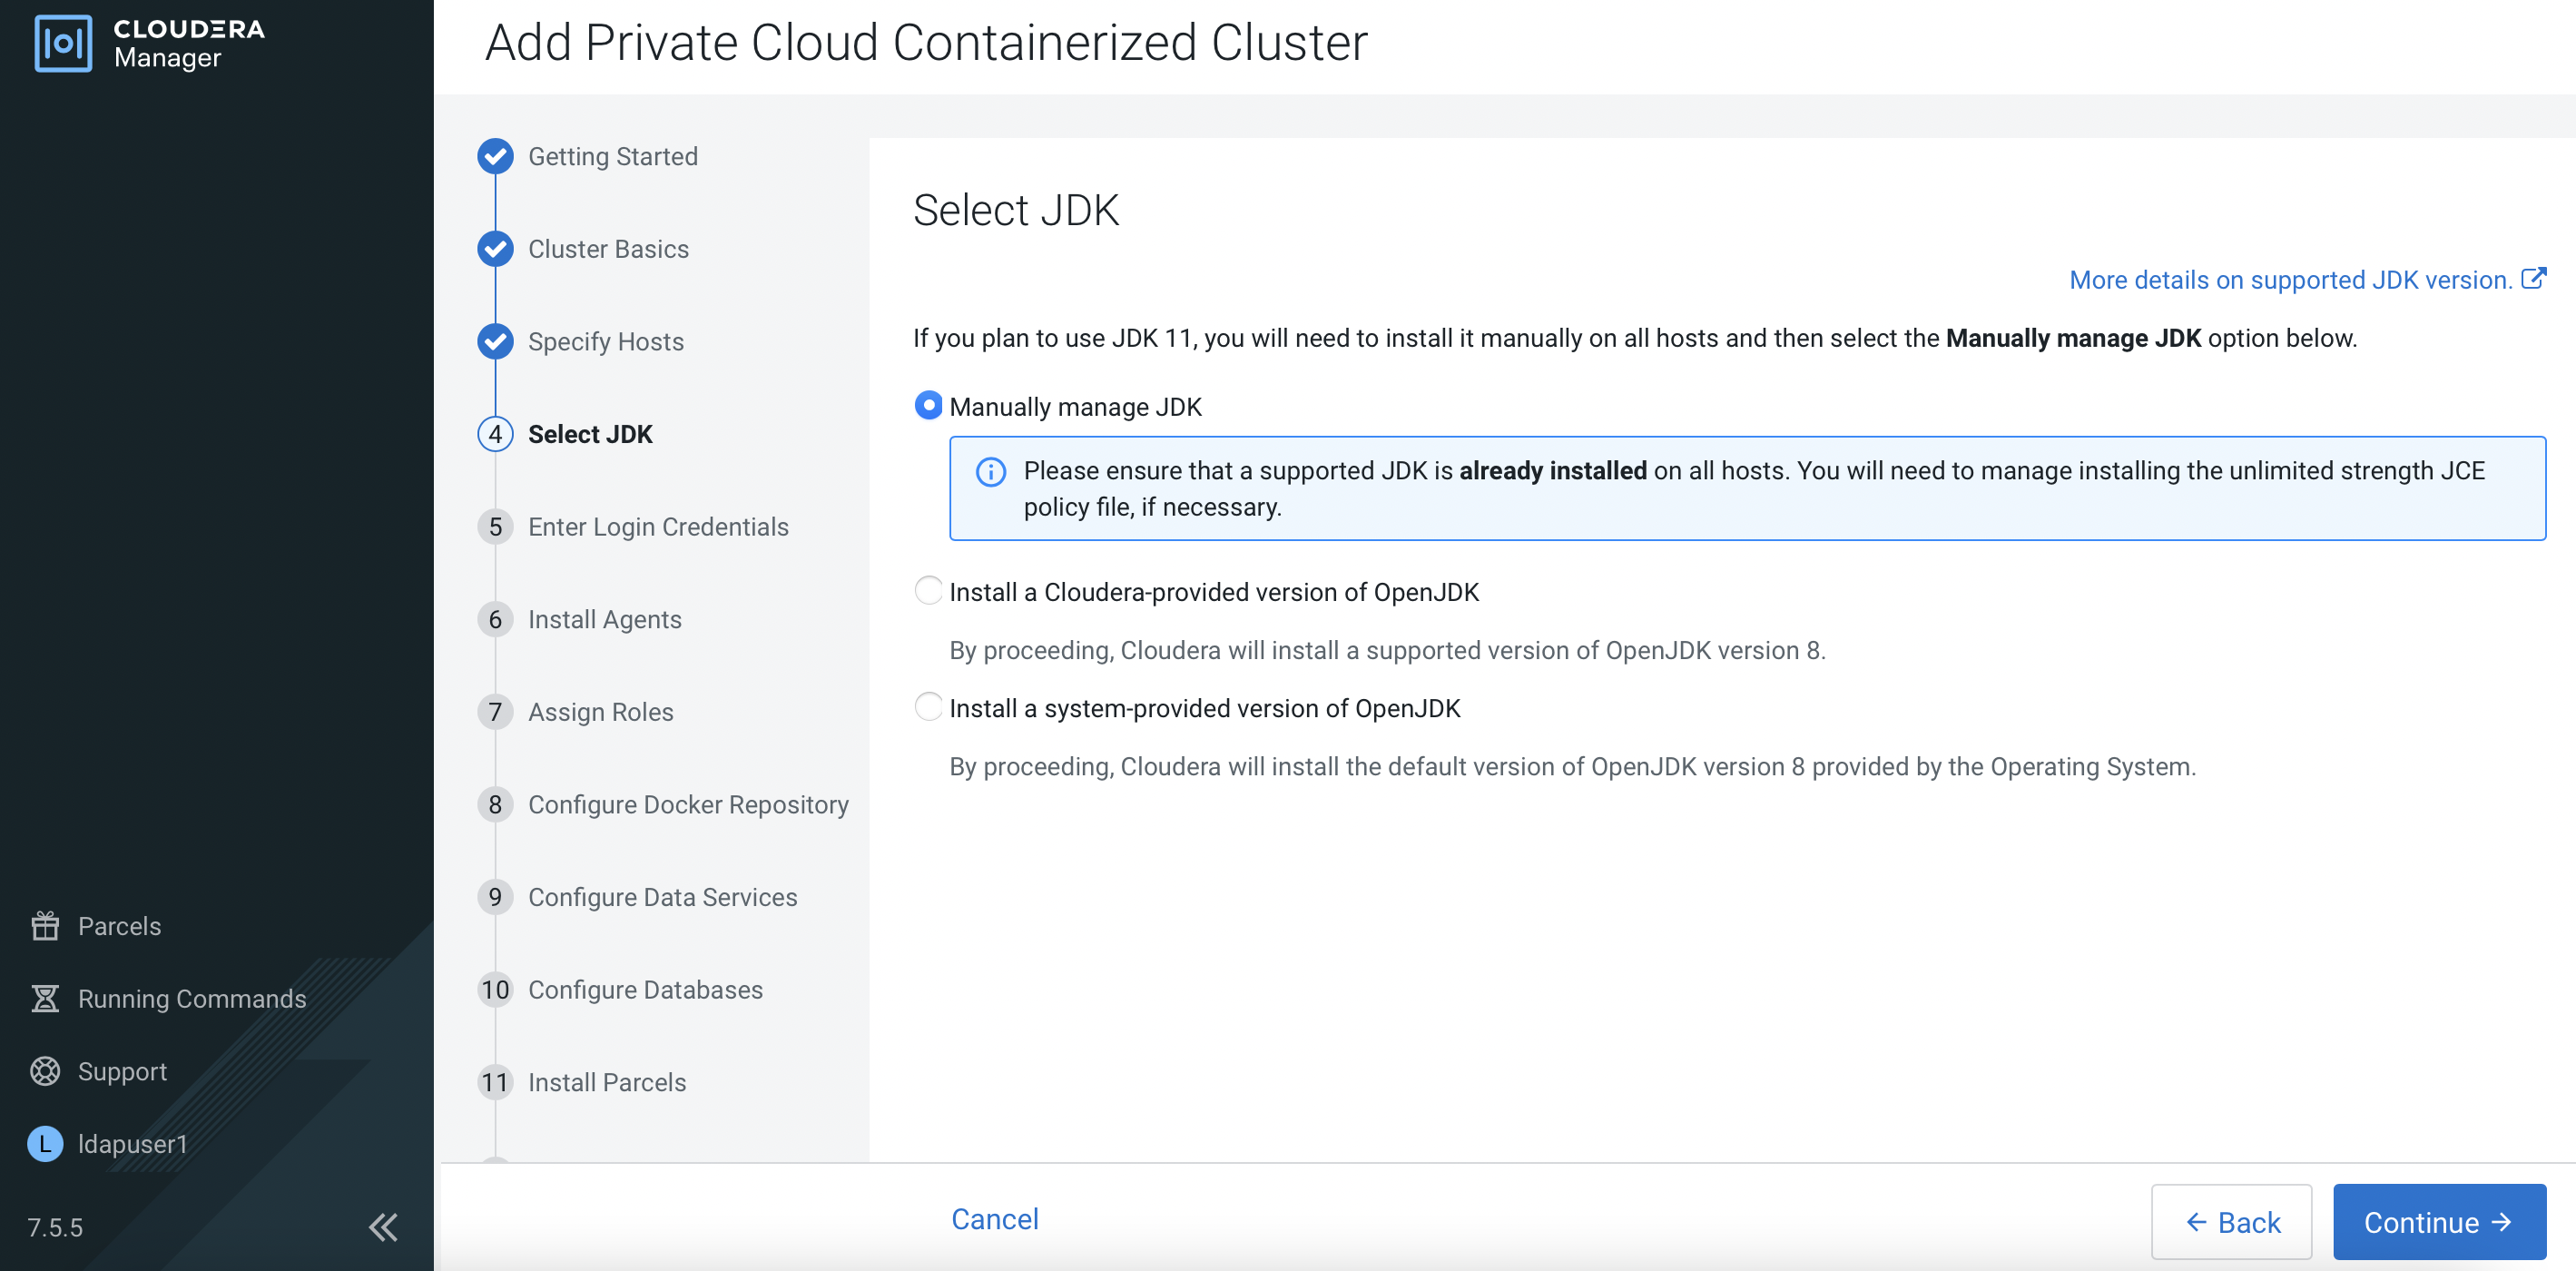
Enter the login credentials. Click
Continue.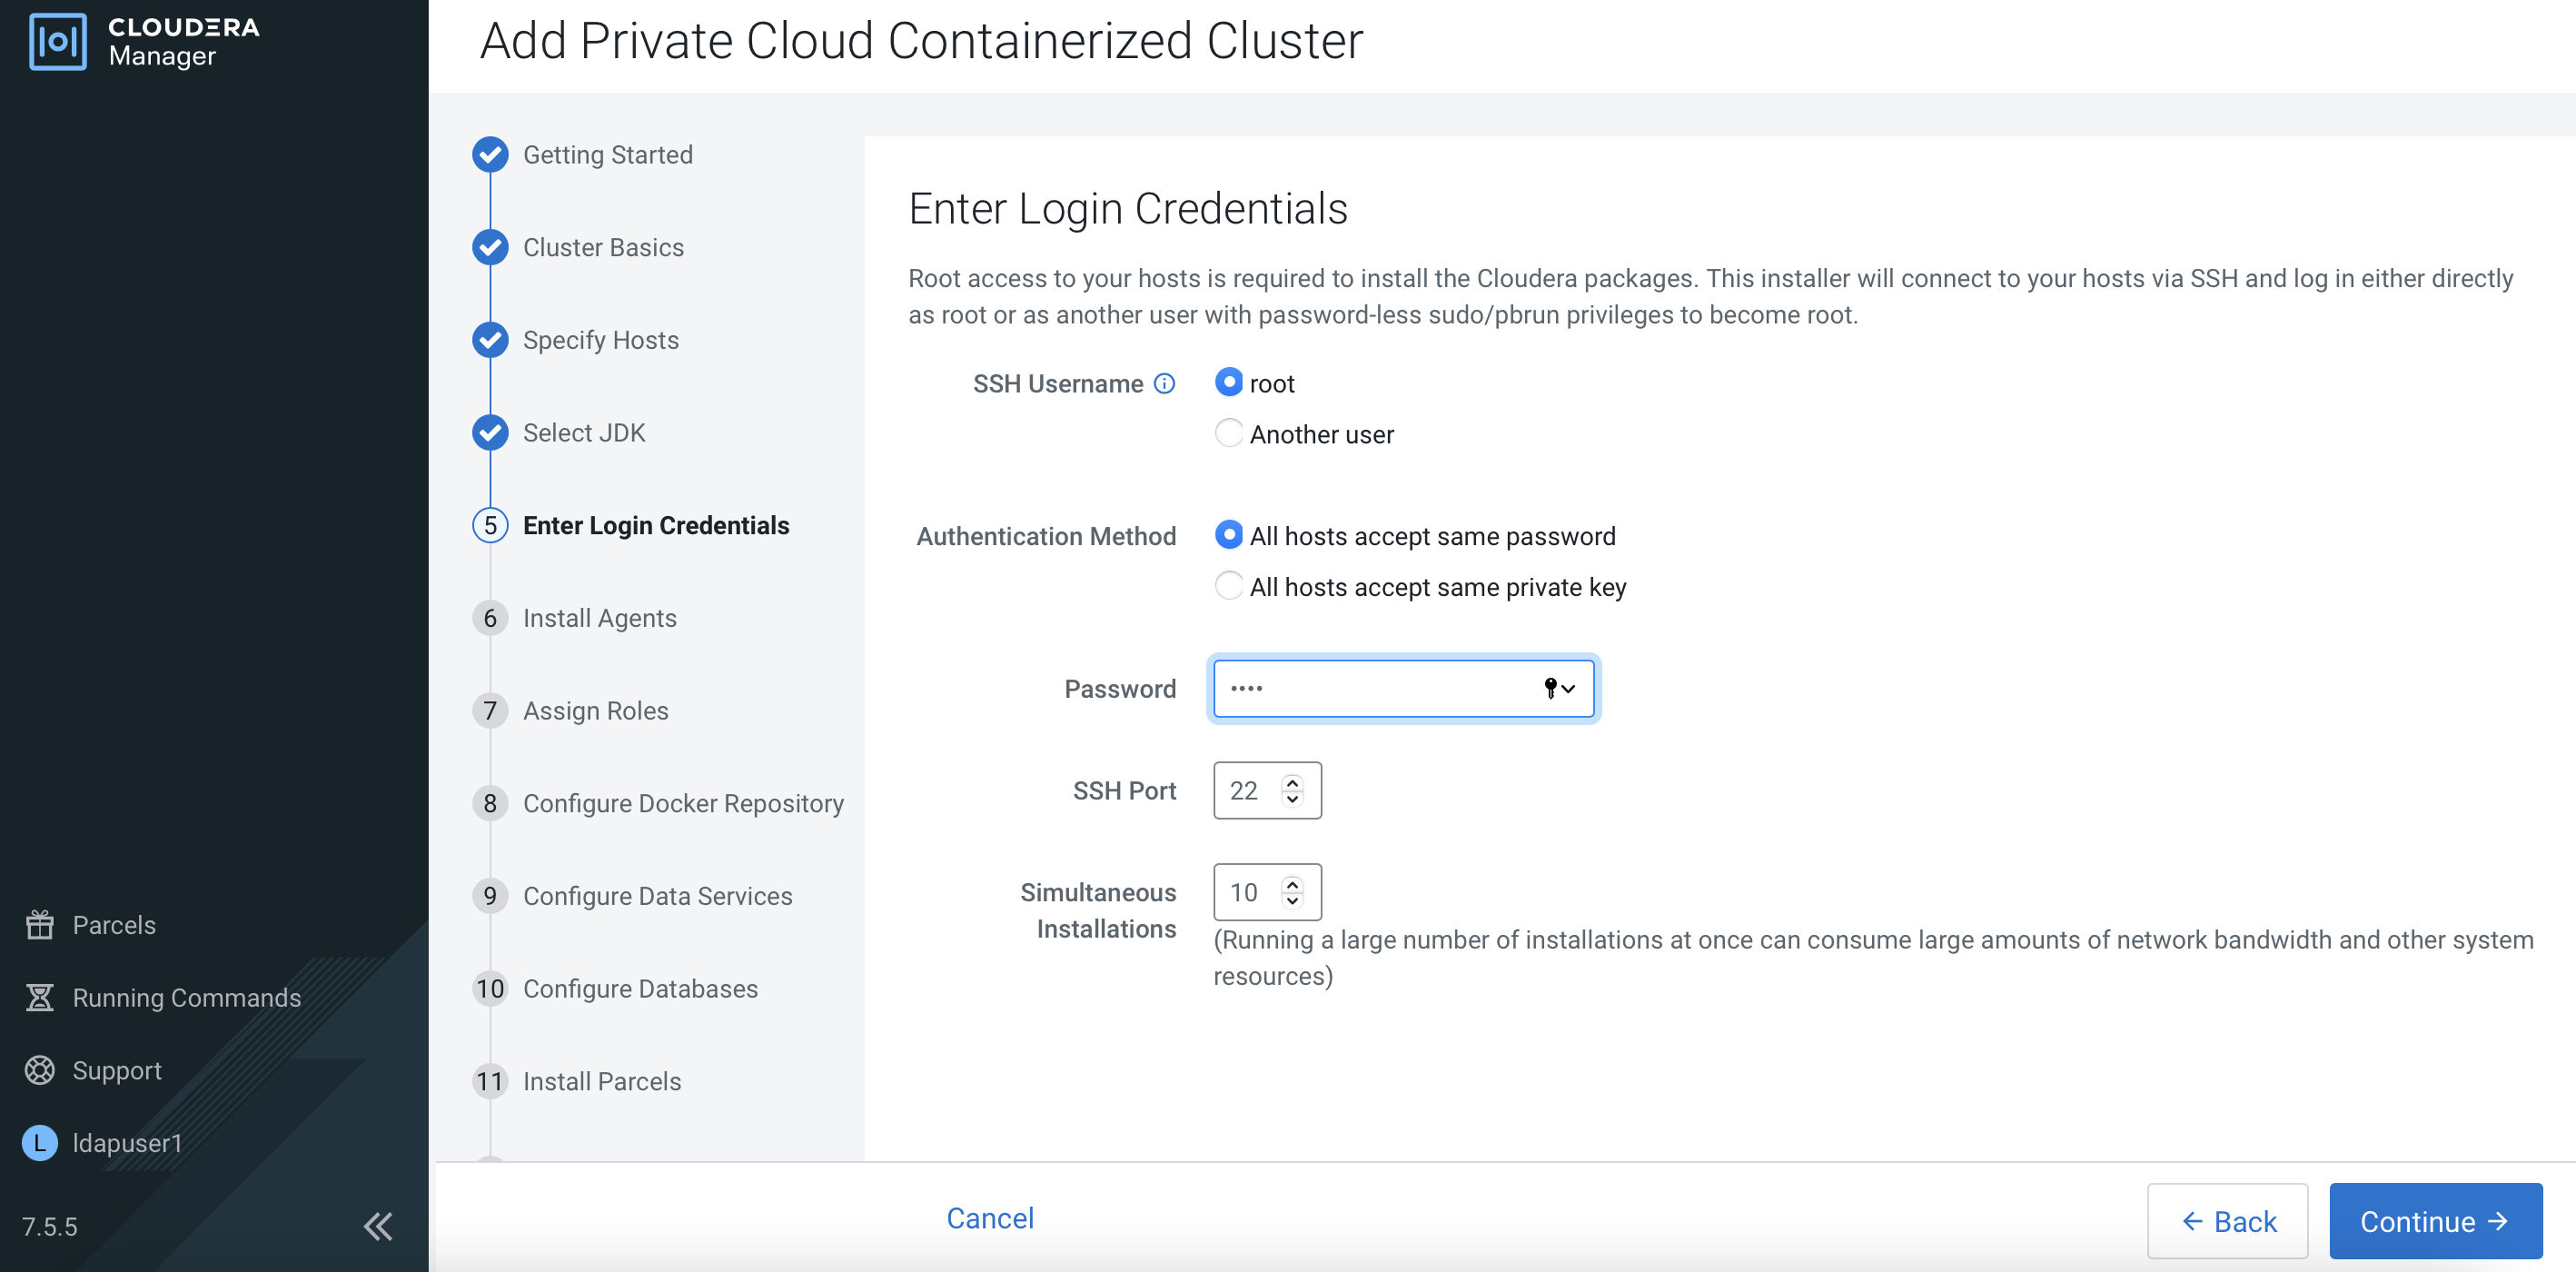
CM is installing the agent in each ECS node in parallel and will subsequently install the parcels.

Select all ECS nodes in the
Docker Serverfield. Select the ECS master node in theEcs Serverfield and select the ECS worker nodes in theEcs Agentfield. ClickView By Hostto confirm your choices.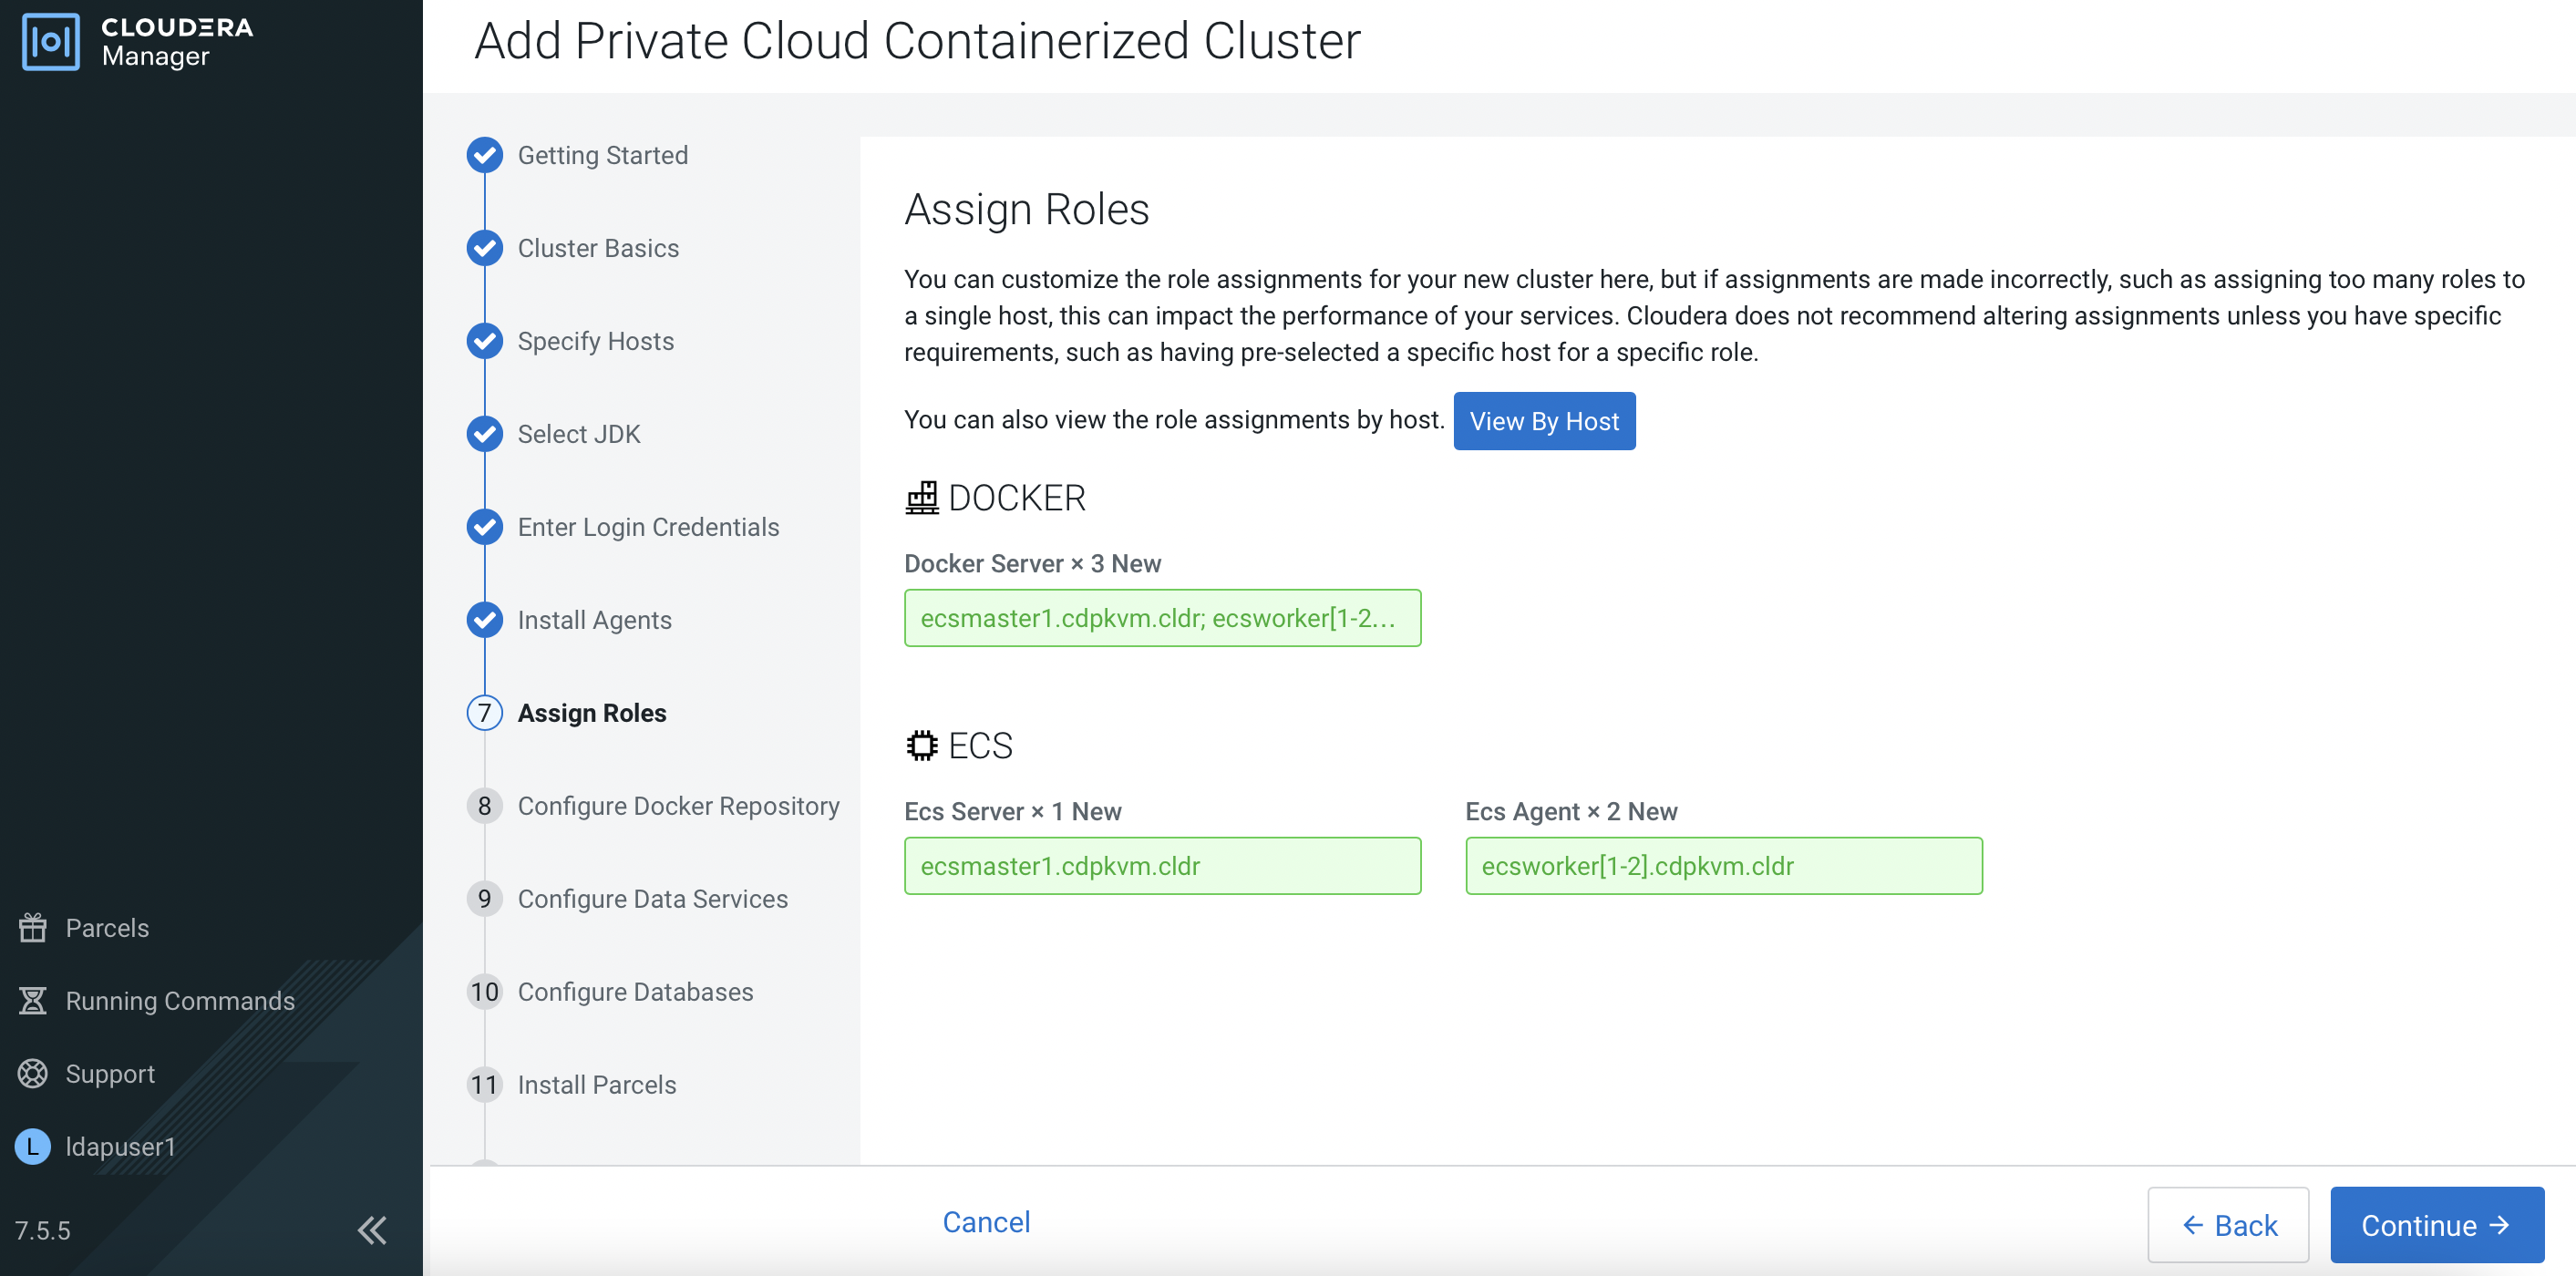
Click
CloseandContinue.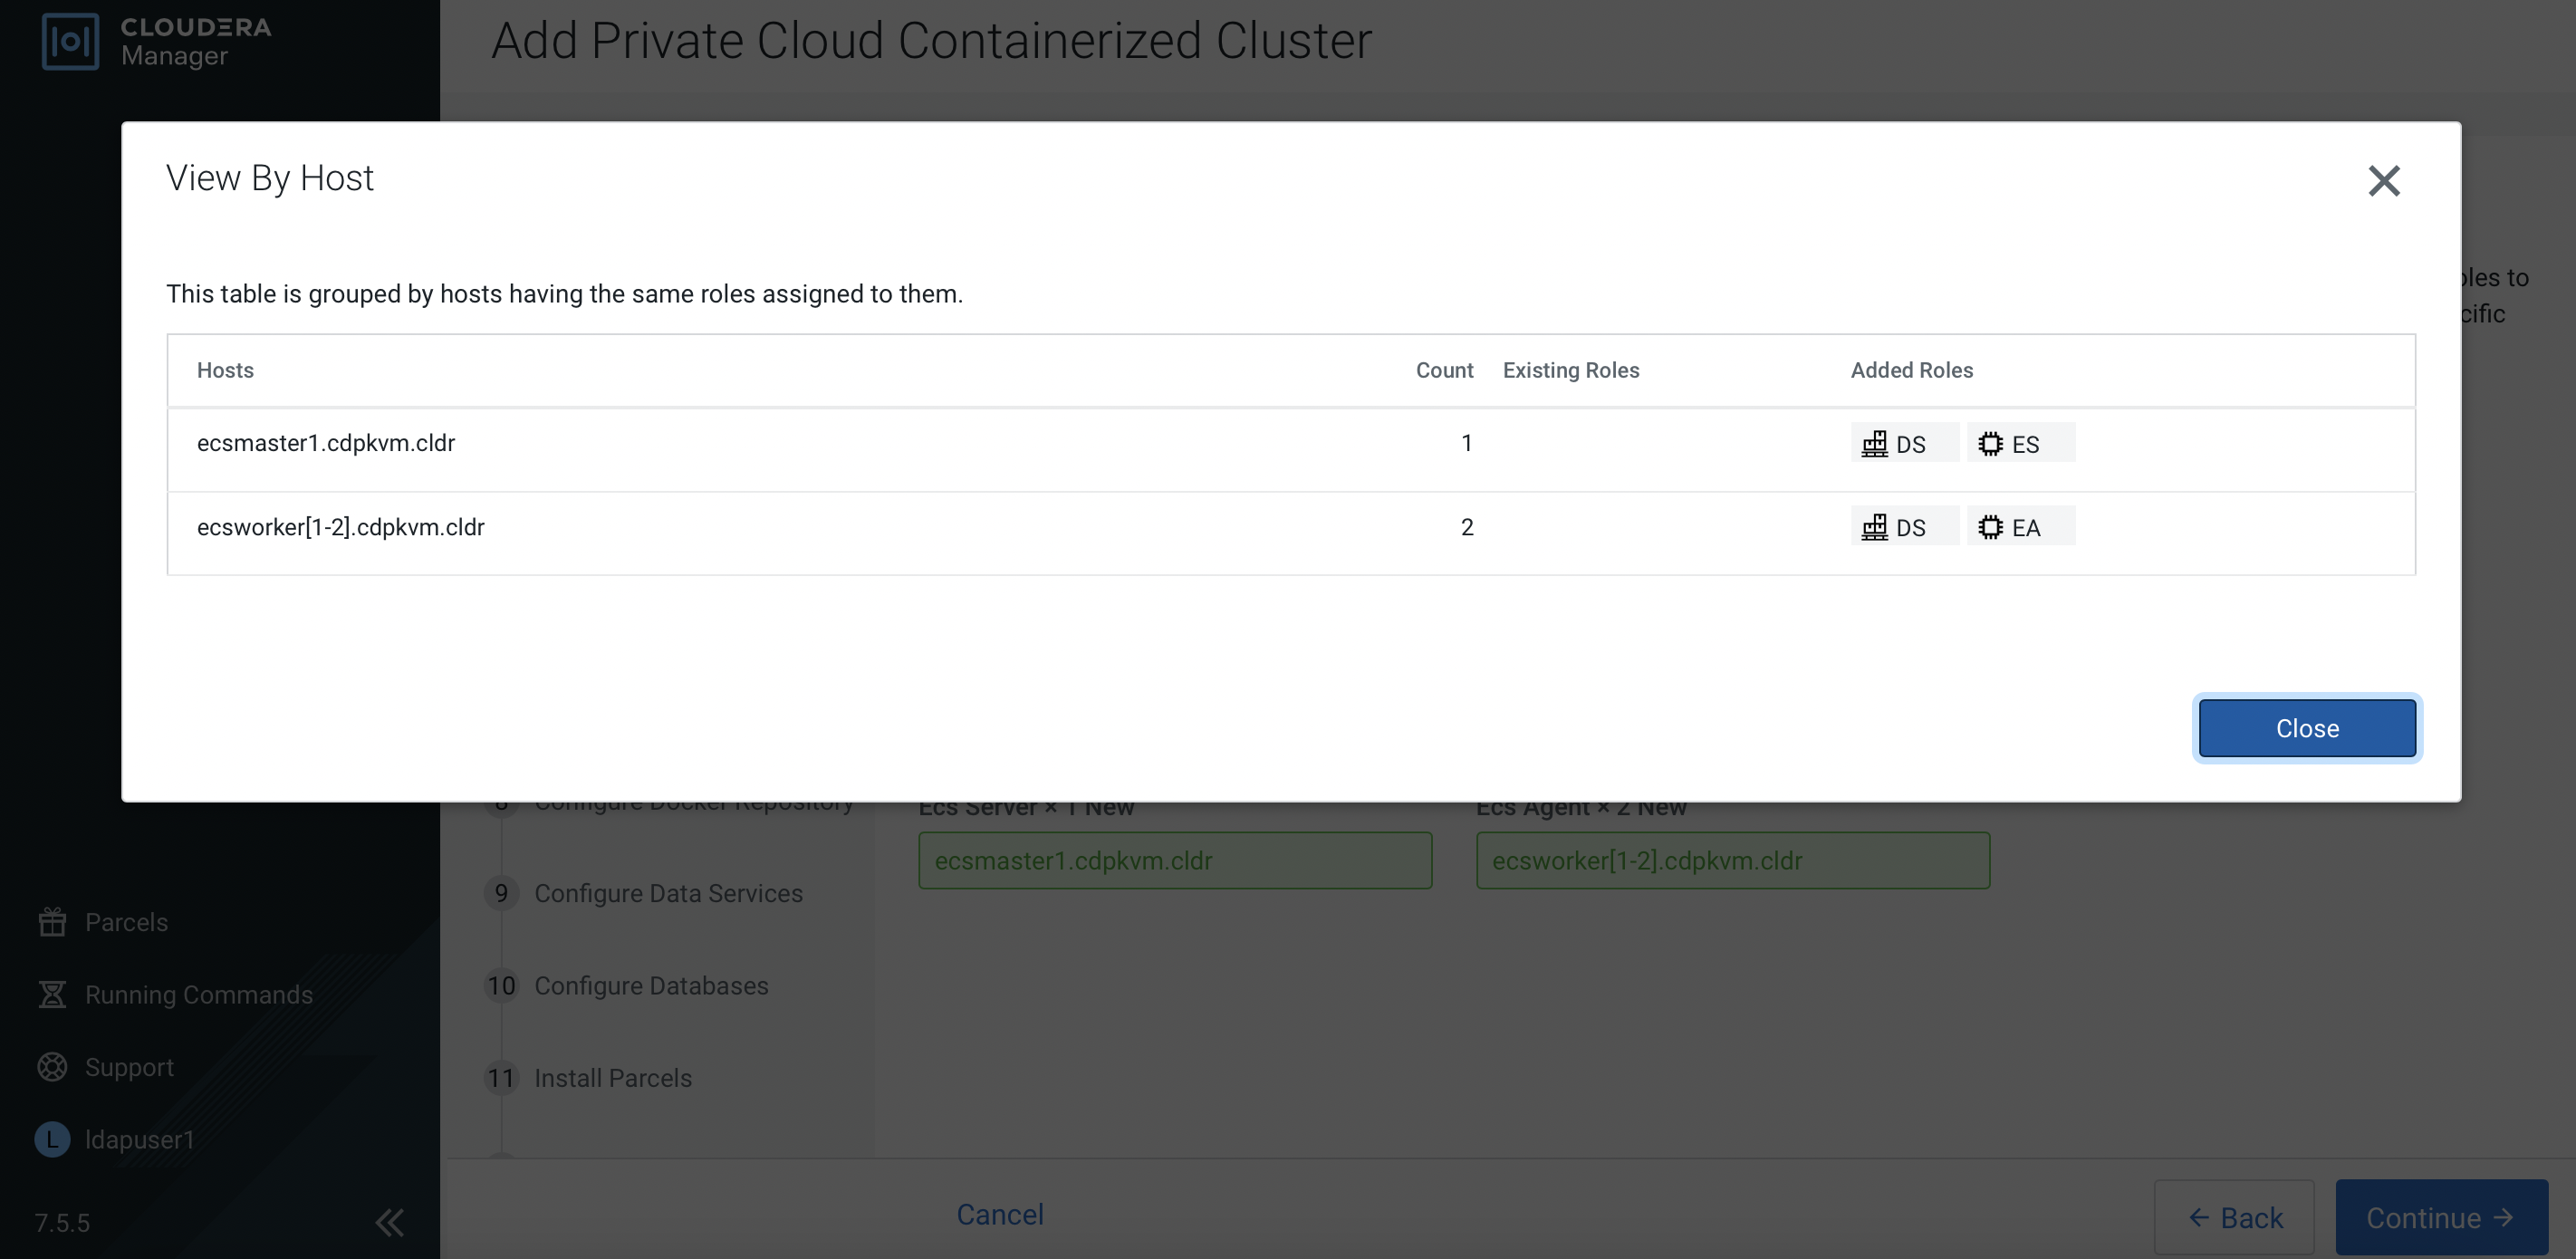
Click
Continue.
Review and amend the parameters accordingly. Directory path for Longhorn storage and local SSD/NVMe (for CDW cache) in each node must be configured here in accordance to the mounted disk folder name. Dedicated storage disk that is expected to be formatted and mounted prior to this installation as explained in the prerequisites subtopic. The
Application Domainfield determines the subdomain of the wildcard DNS. In this case, the wildcard DNS to be set at the external DNS server is*.apps.ecs1.cdpkvm.cldr.
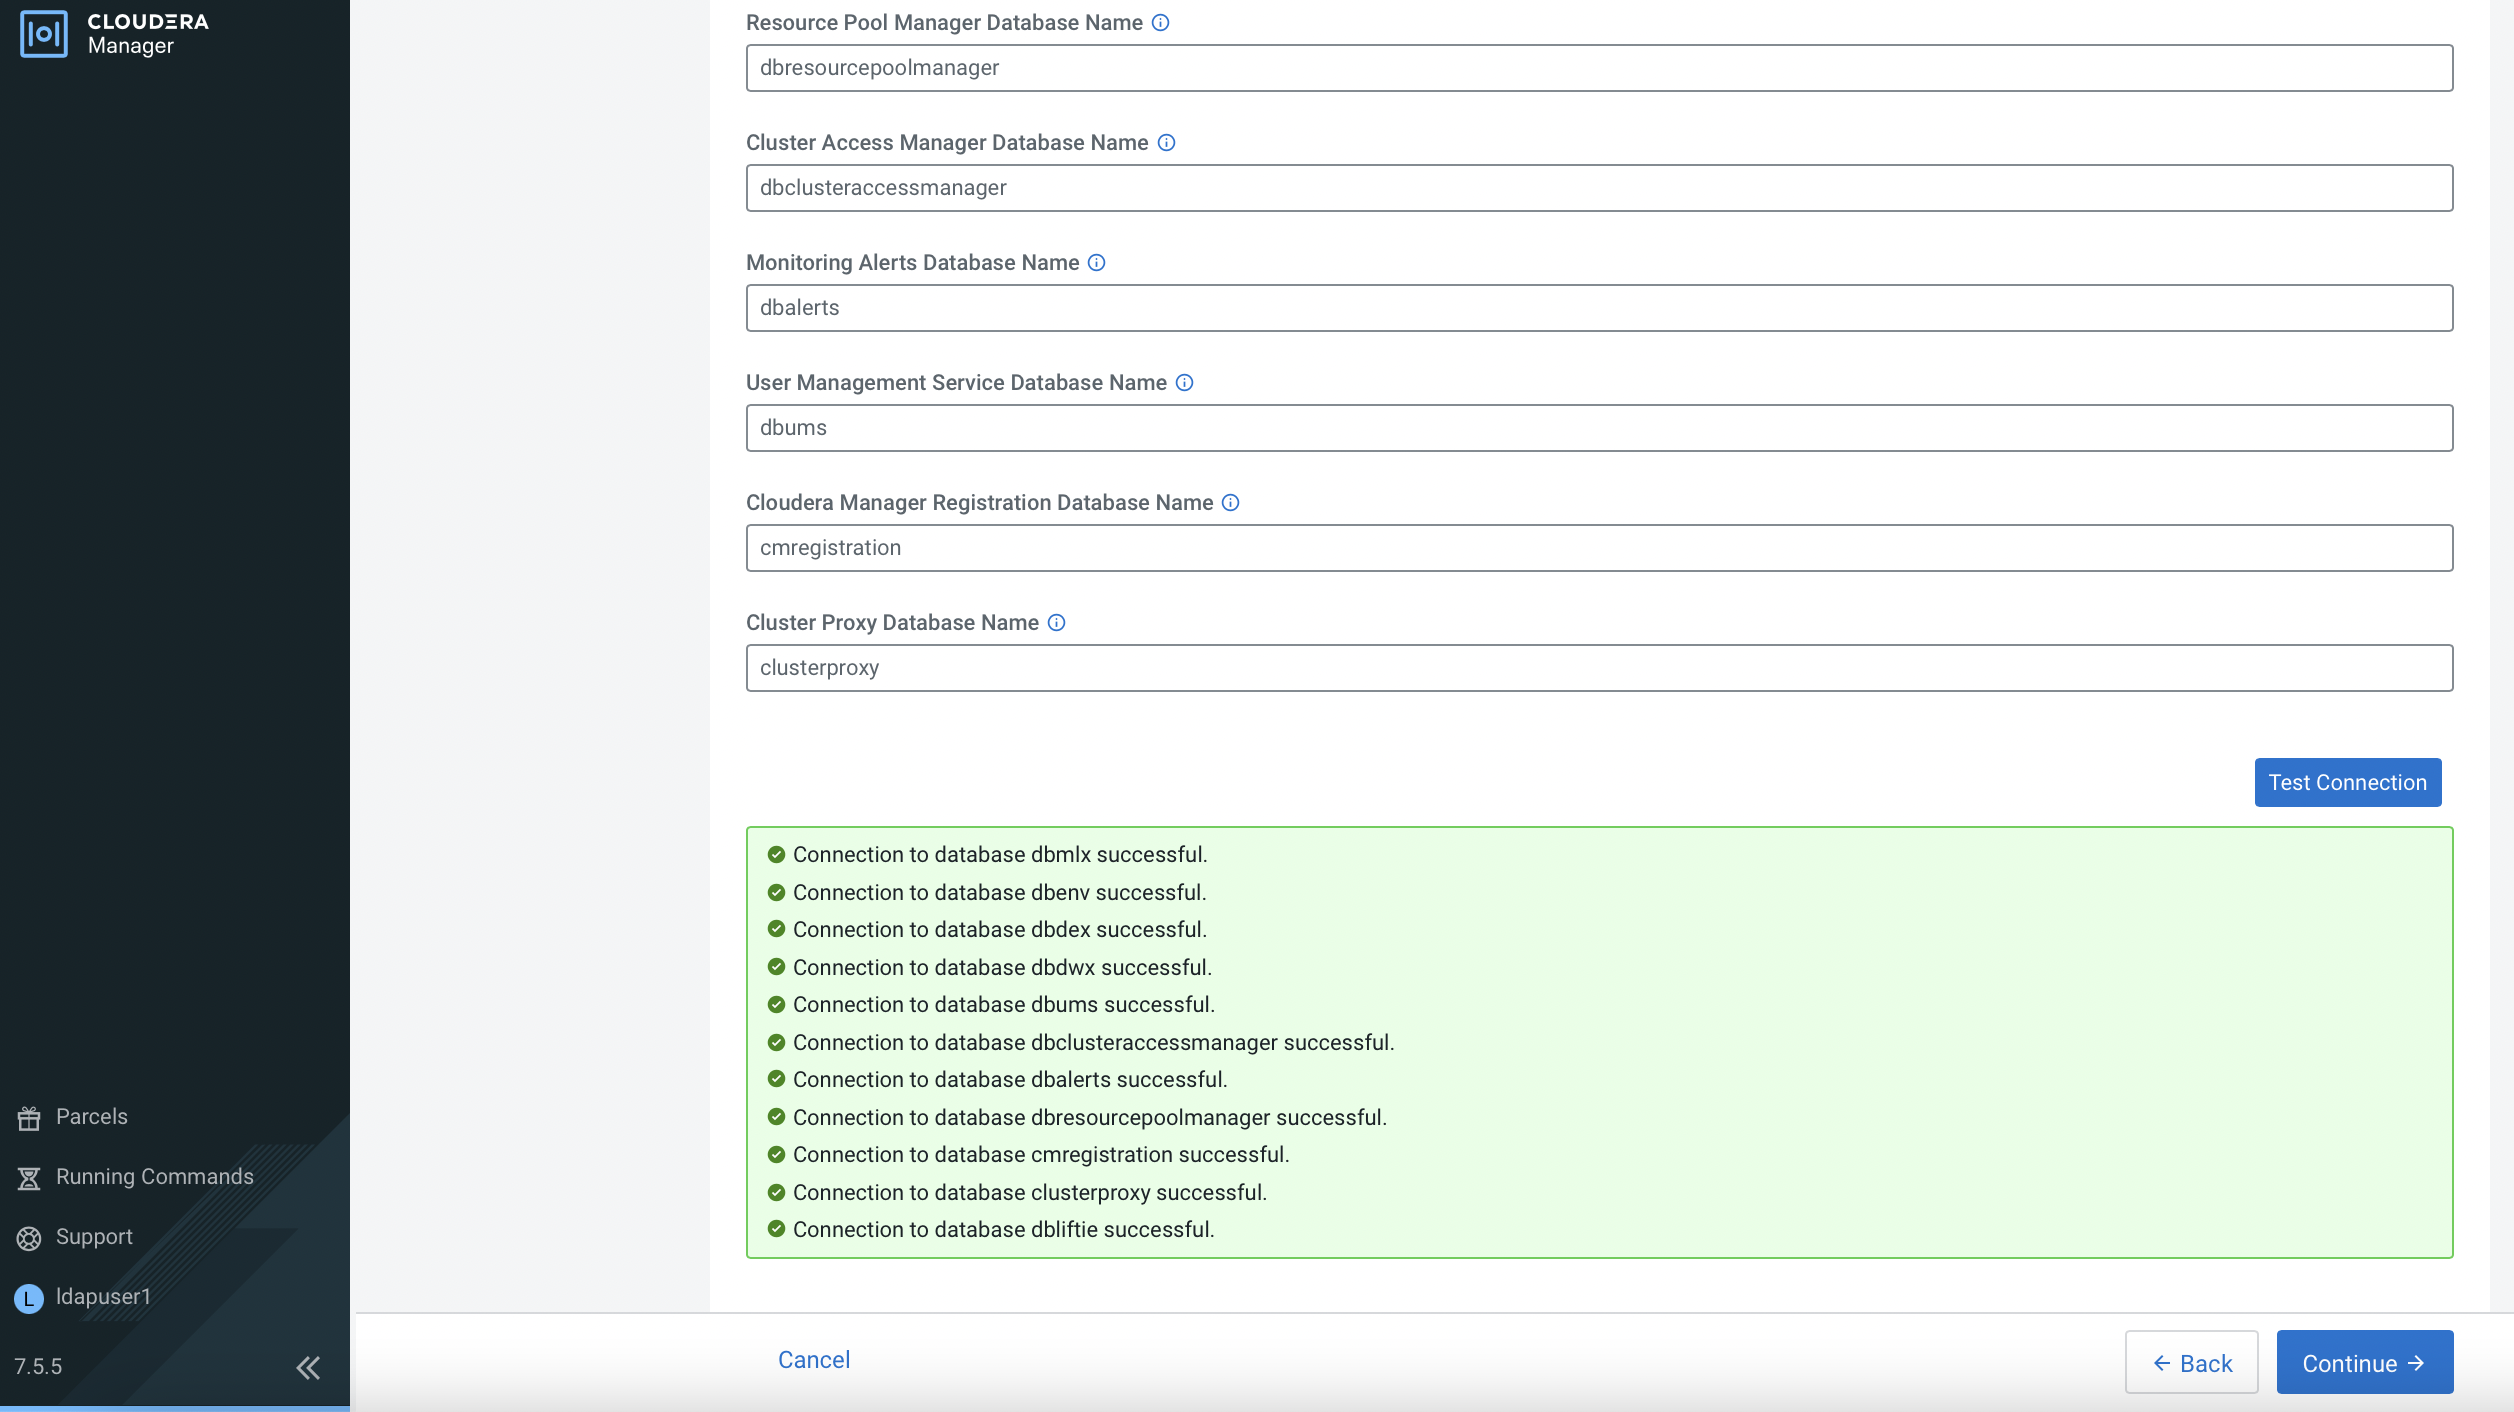
Fill in the database parameters based on the created databases in PostgreSQL. Click
Test Connection. After getting successful result, clickContinue.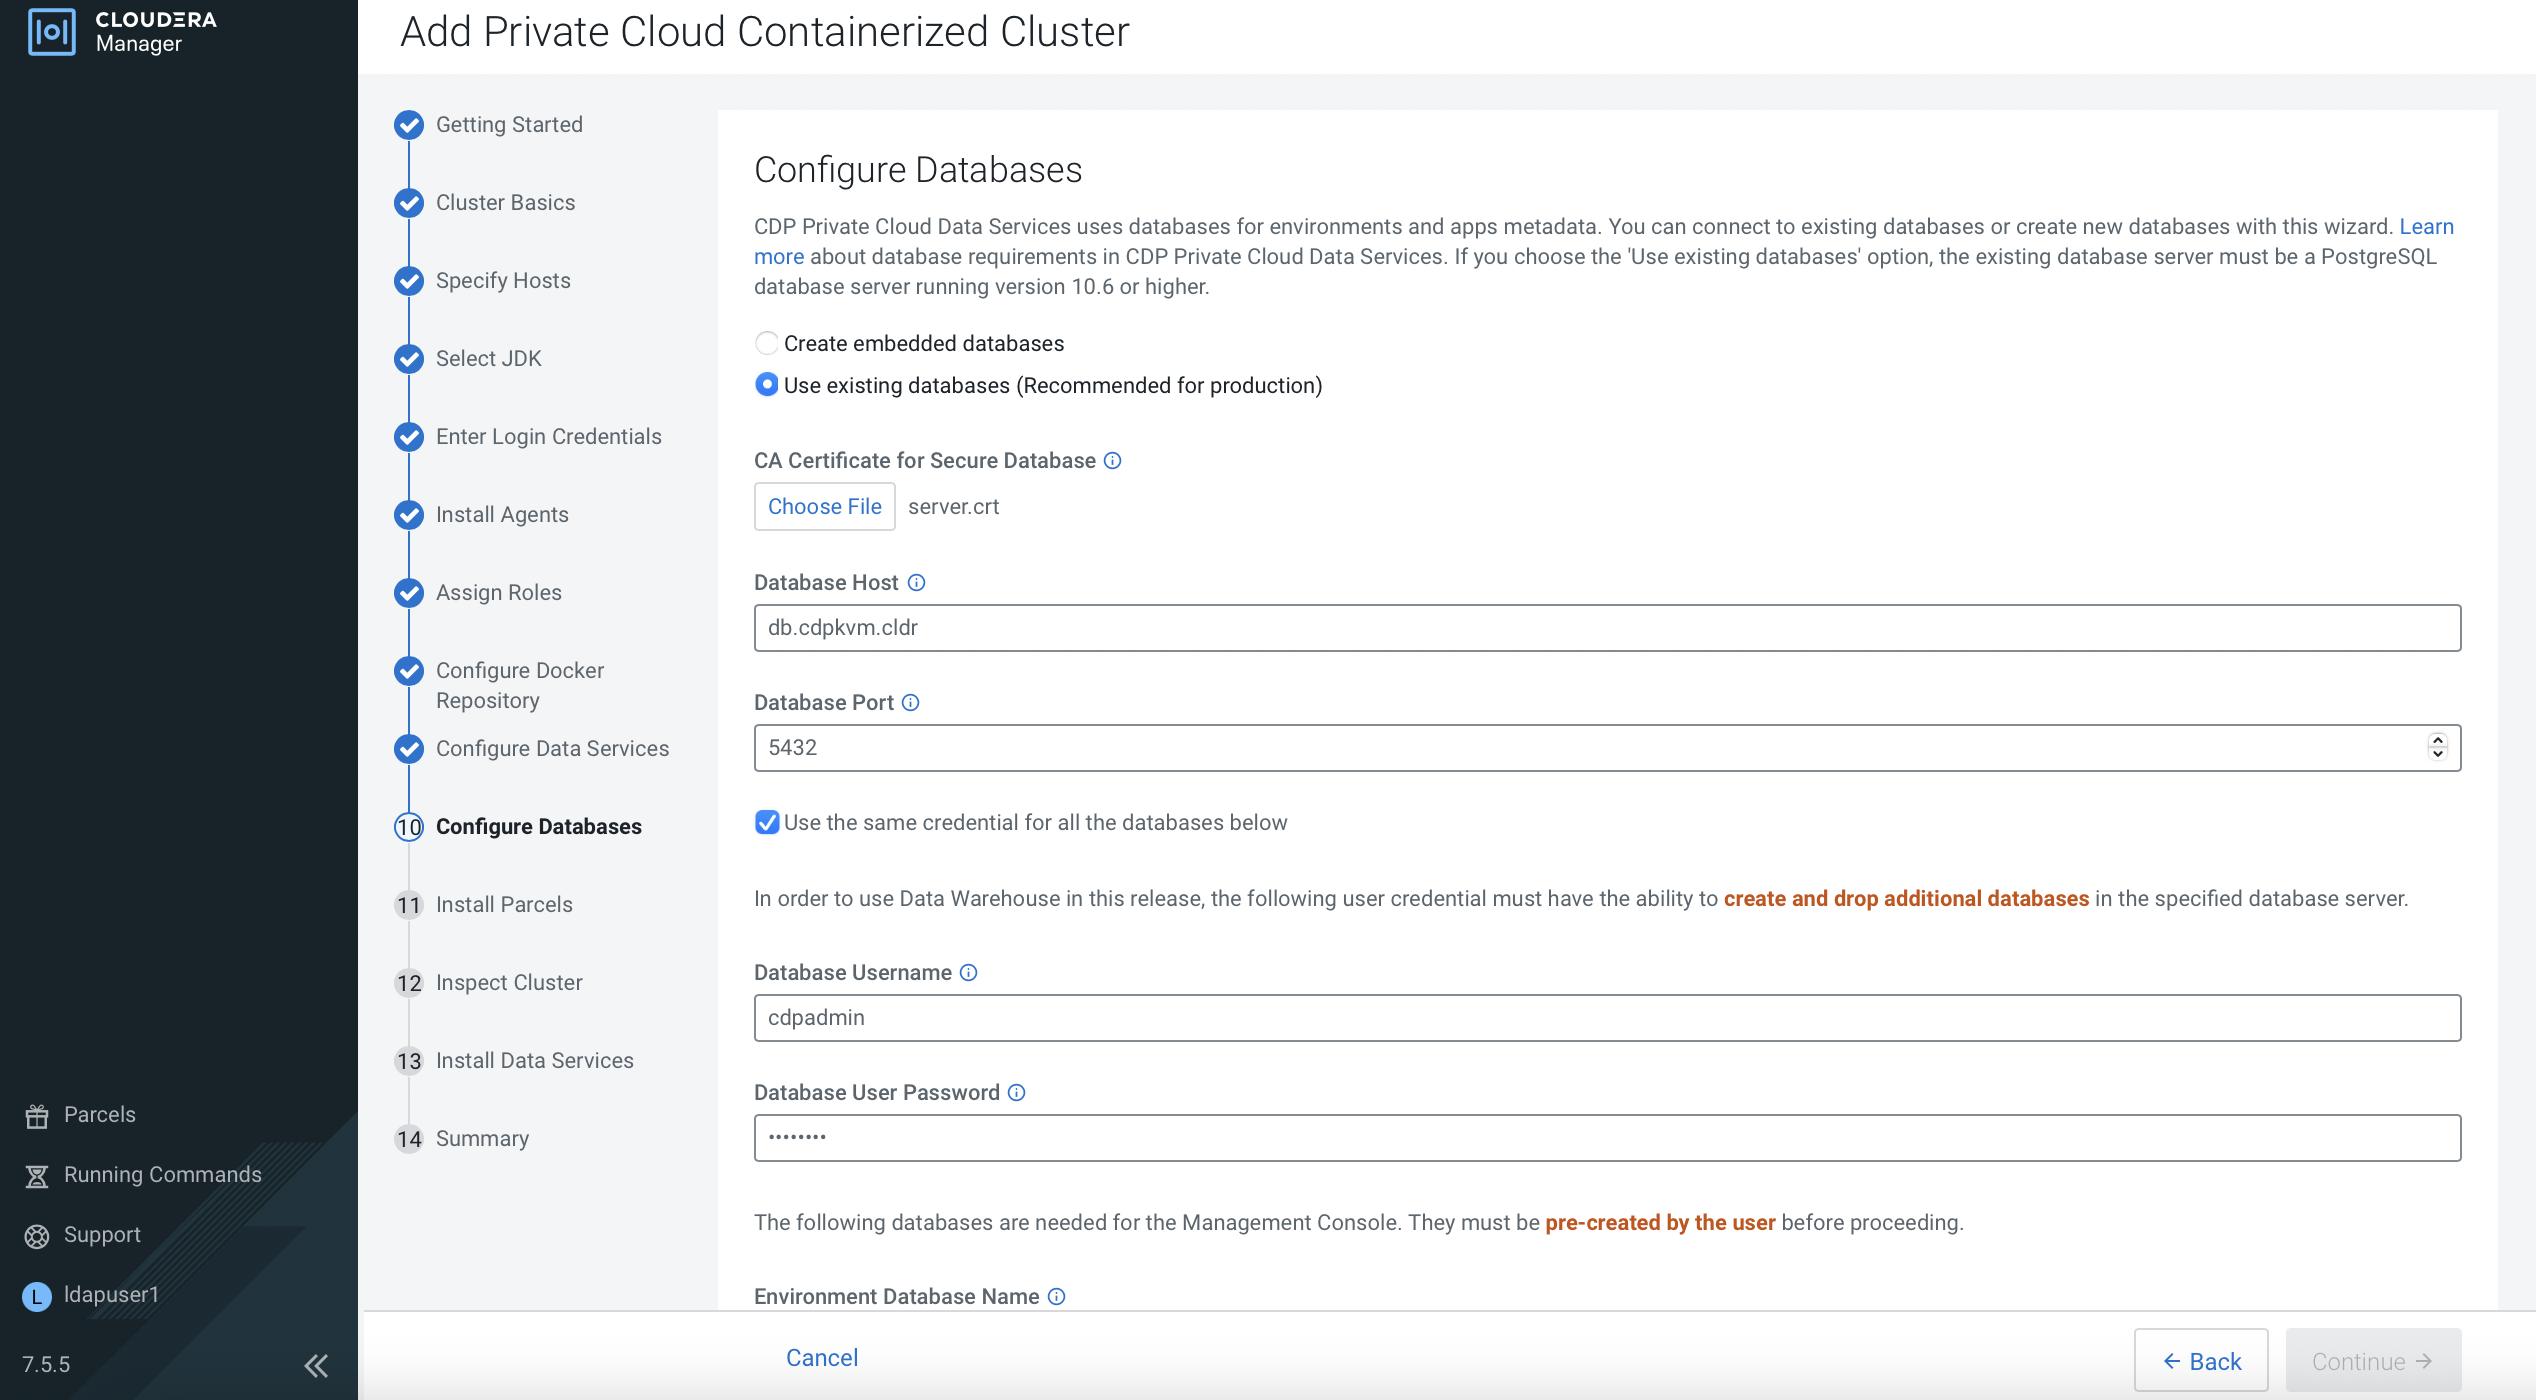
CM is installing the parcels in each ECS node in parallel.

Select
Inspect hosts. Check the results if needed. Otherwise, clickContinue.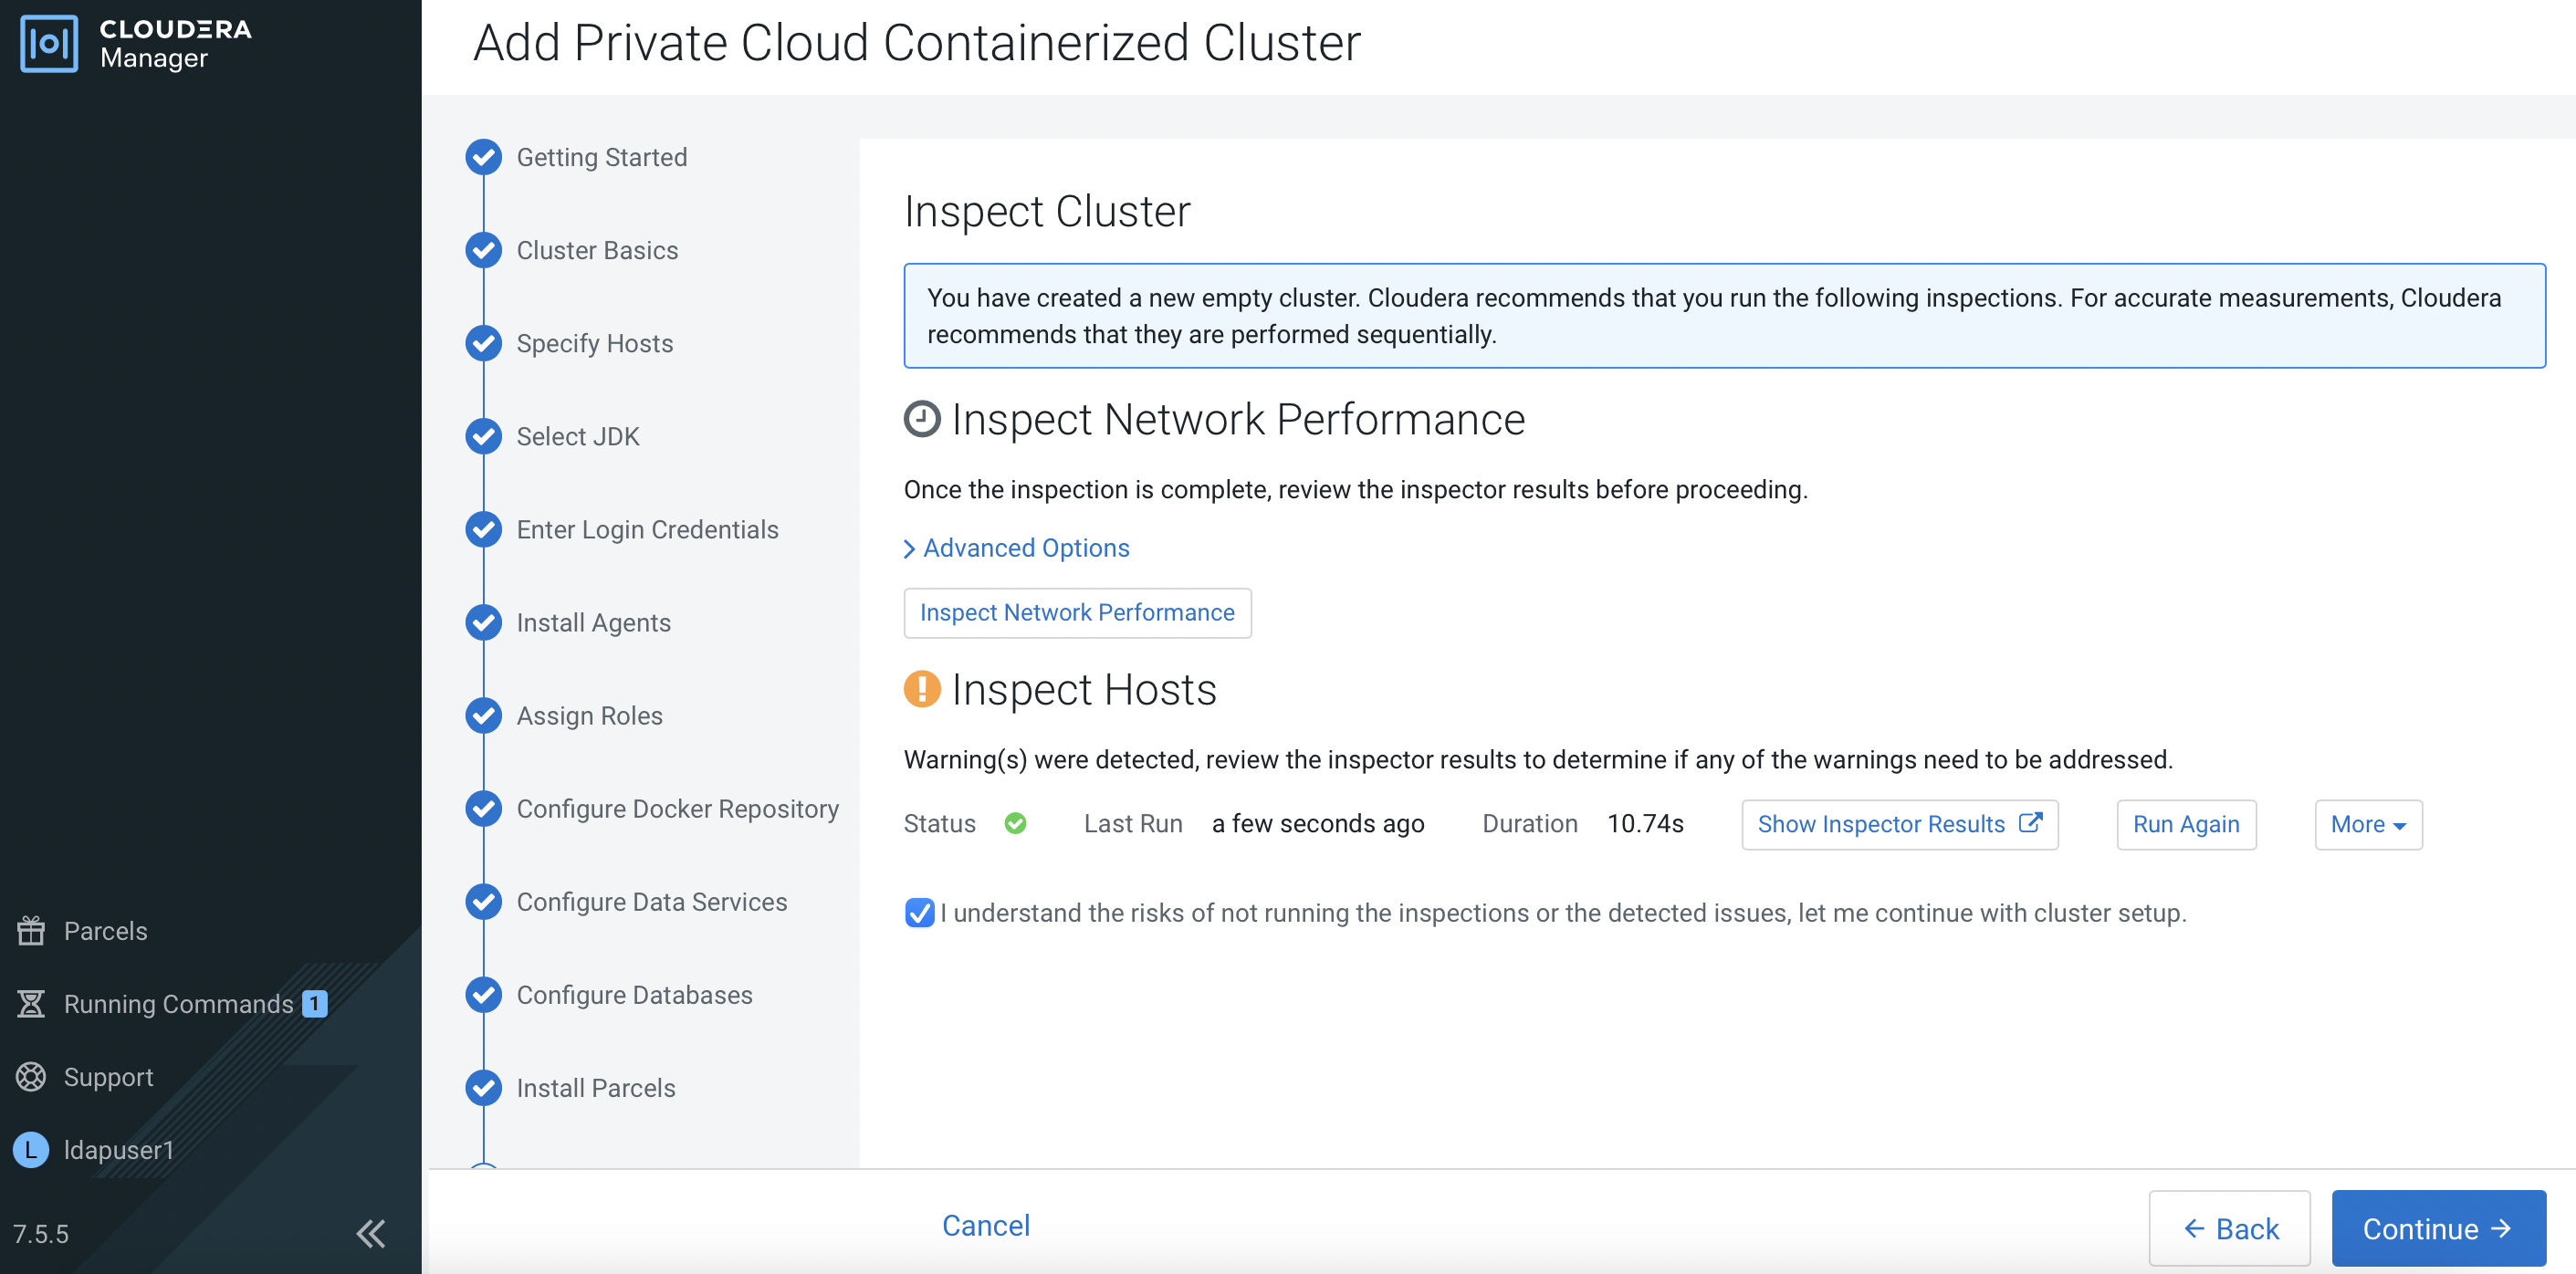
CM will proceed to install the ECS platform. This process will take some time to complete. After successful installation, click
Continue.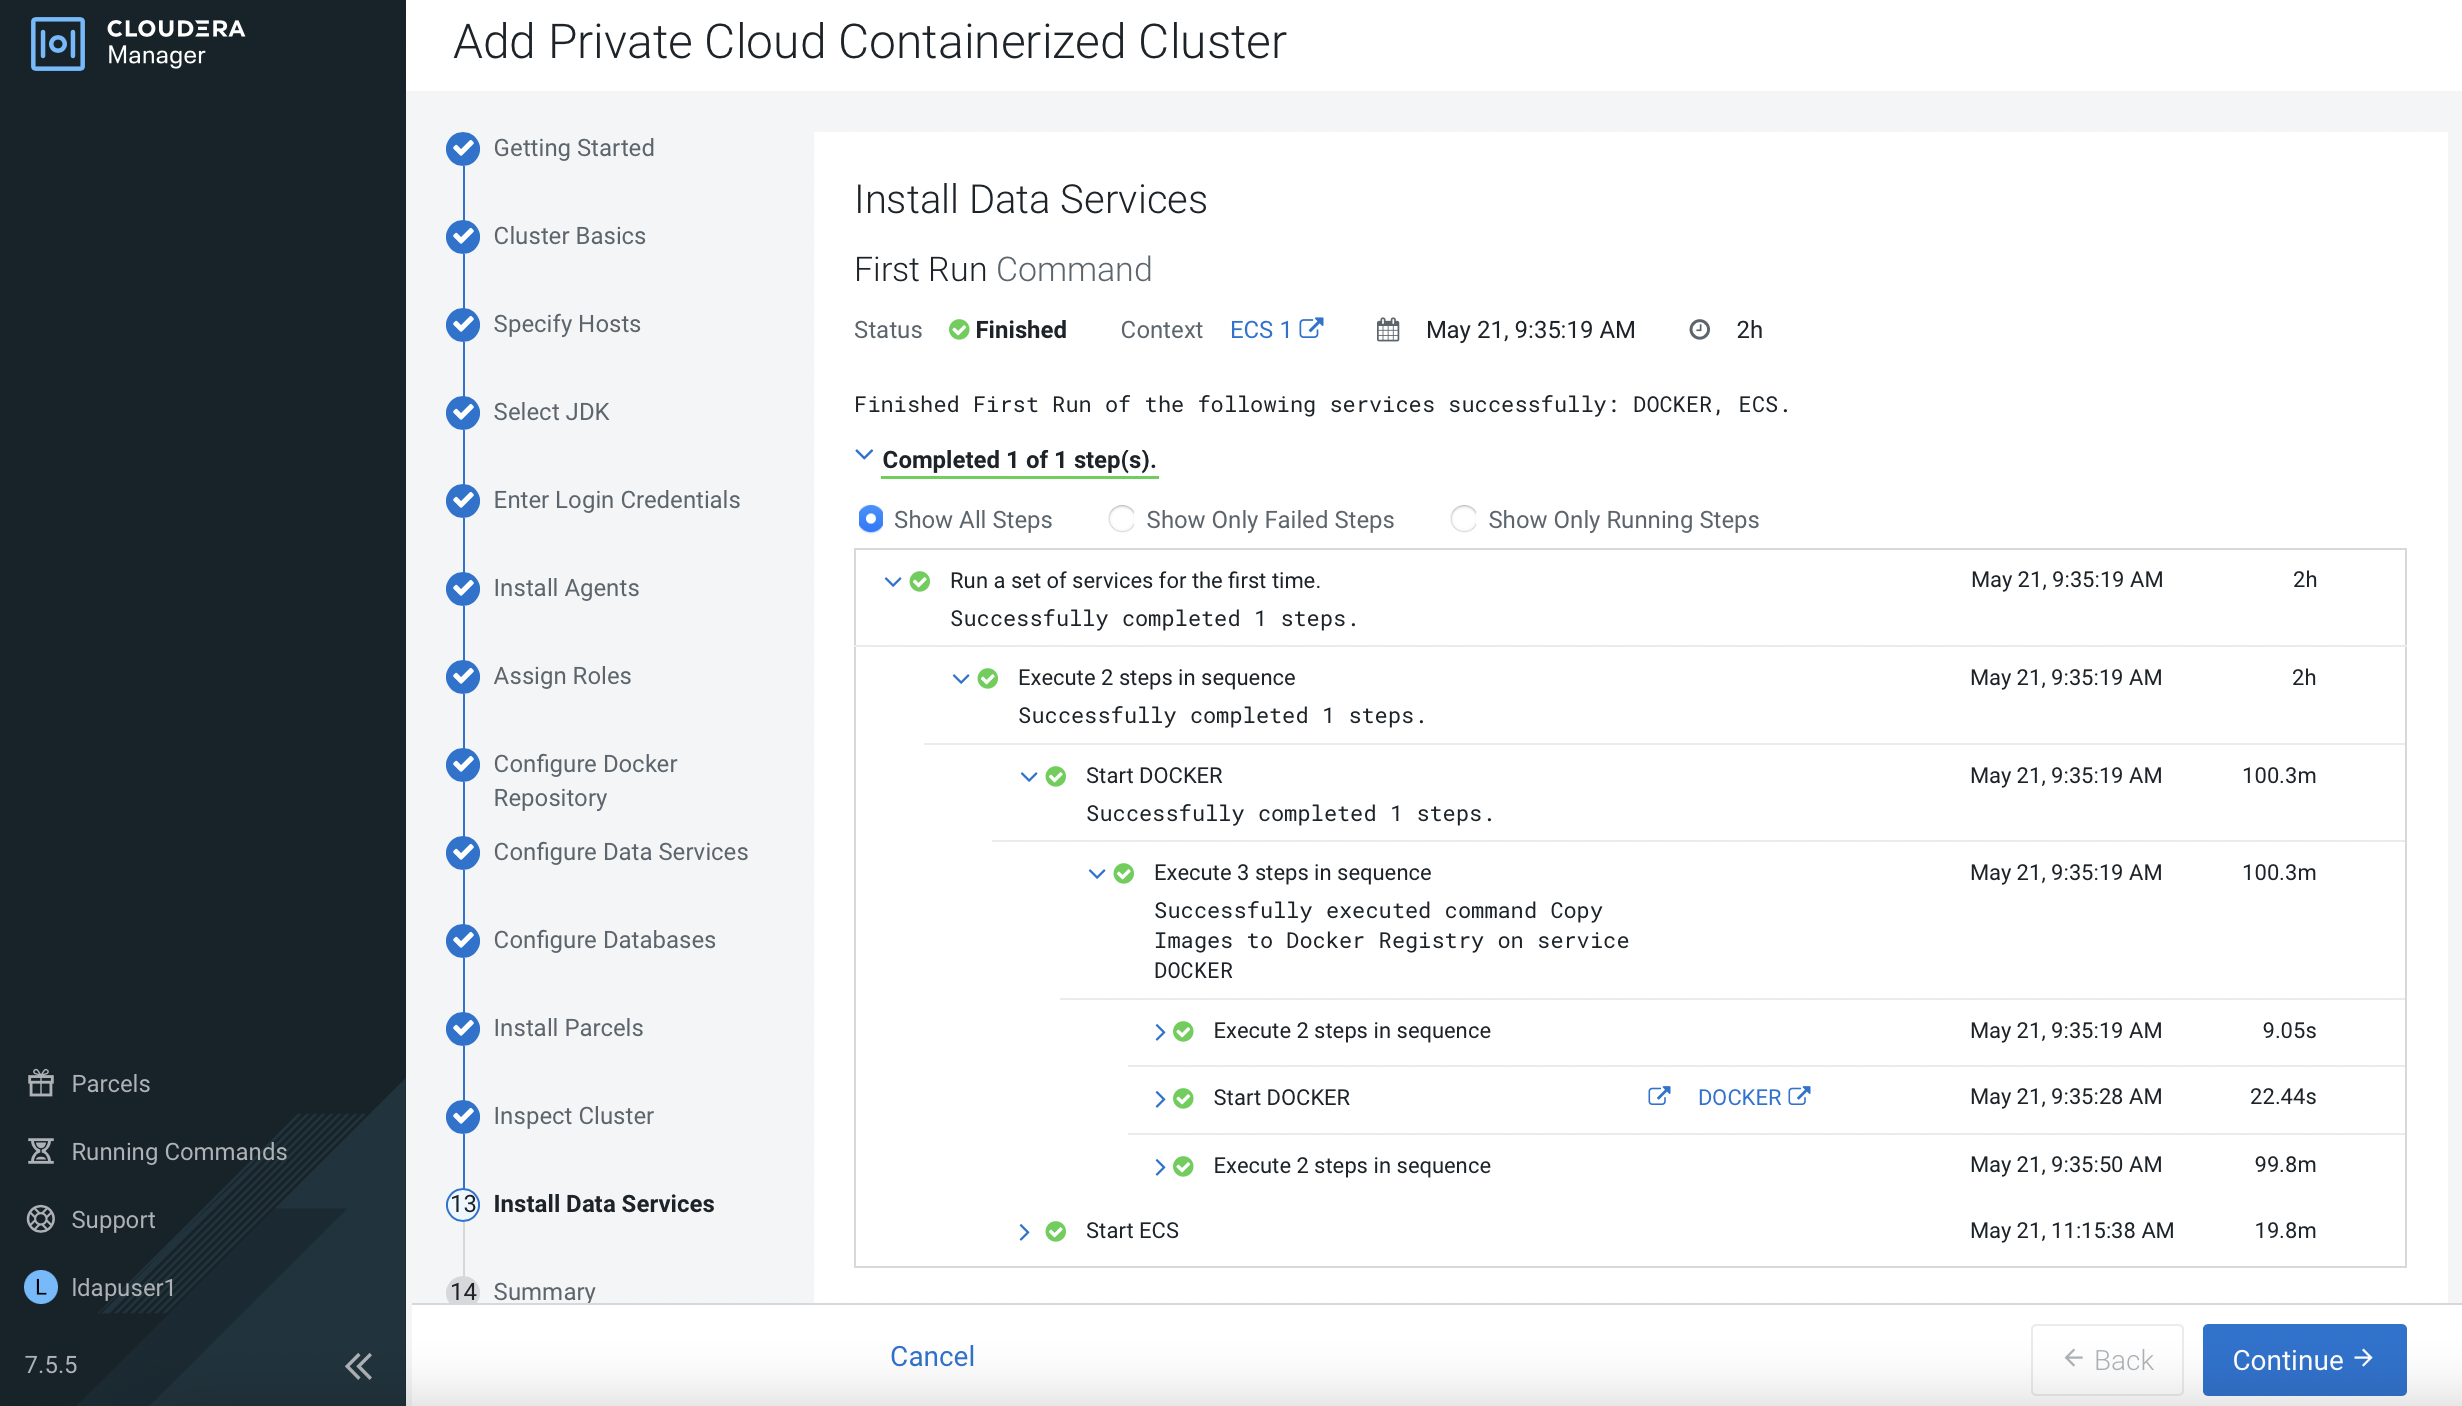
Navigate to
Clusters>ECS 1. Status of all components are supposed to be in green mode as depicted below.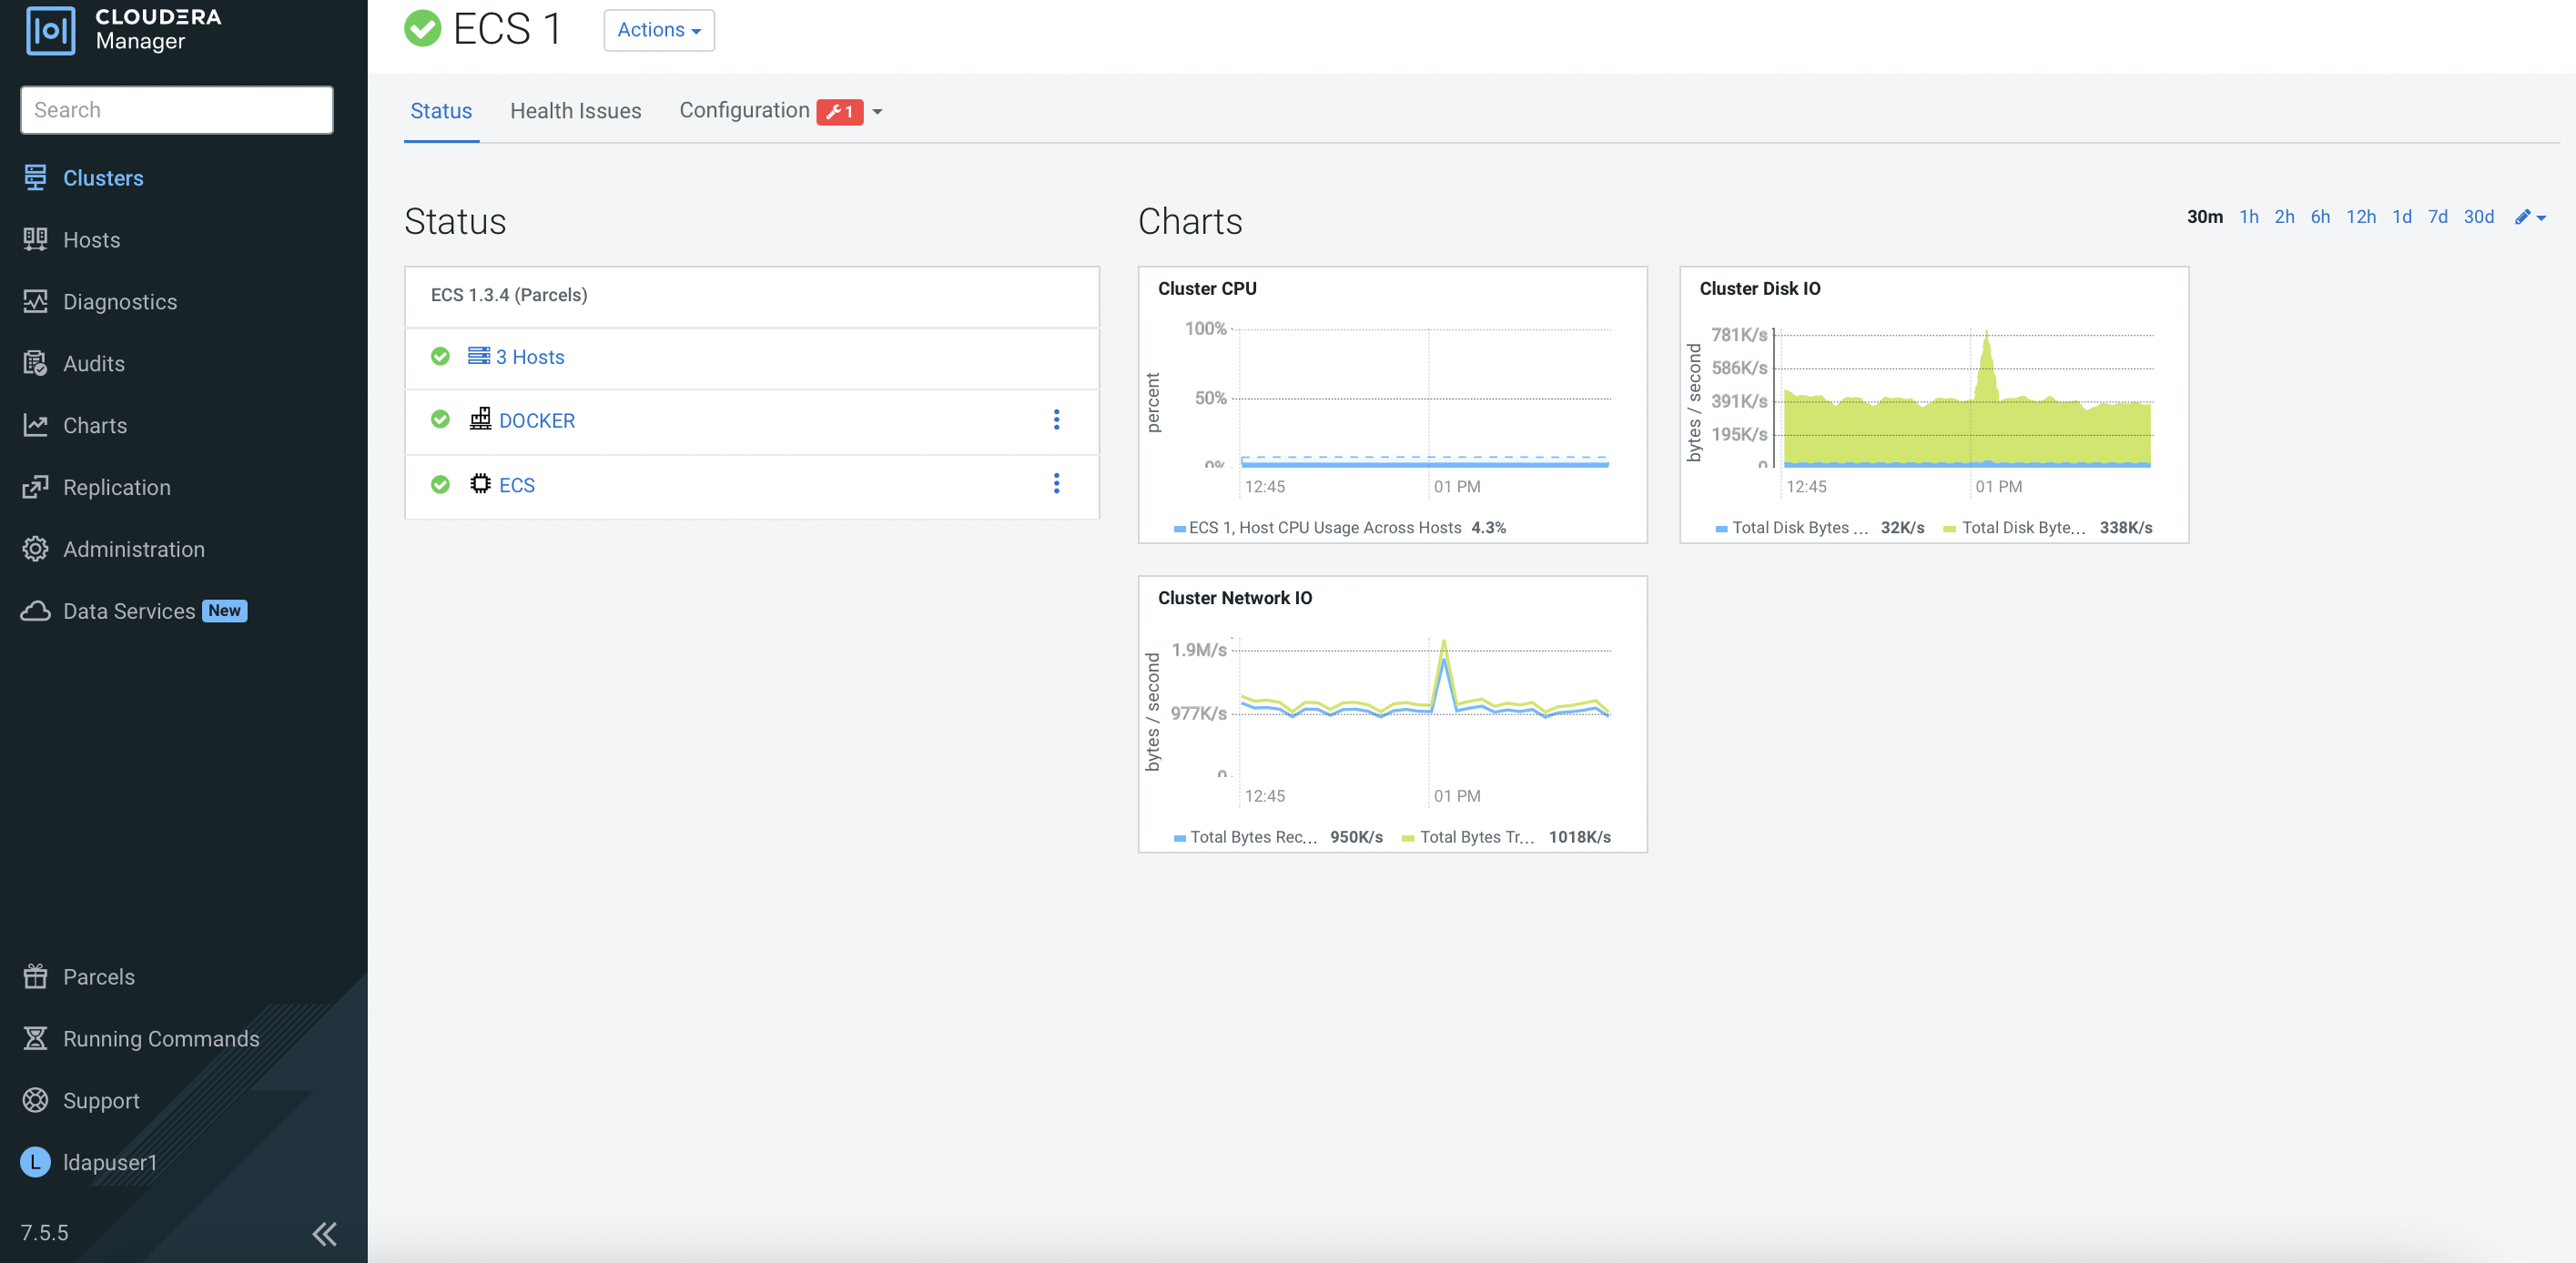
Click
ECS. You may explore other ECS related dashboards such asStorage UIandECS Web UI.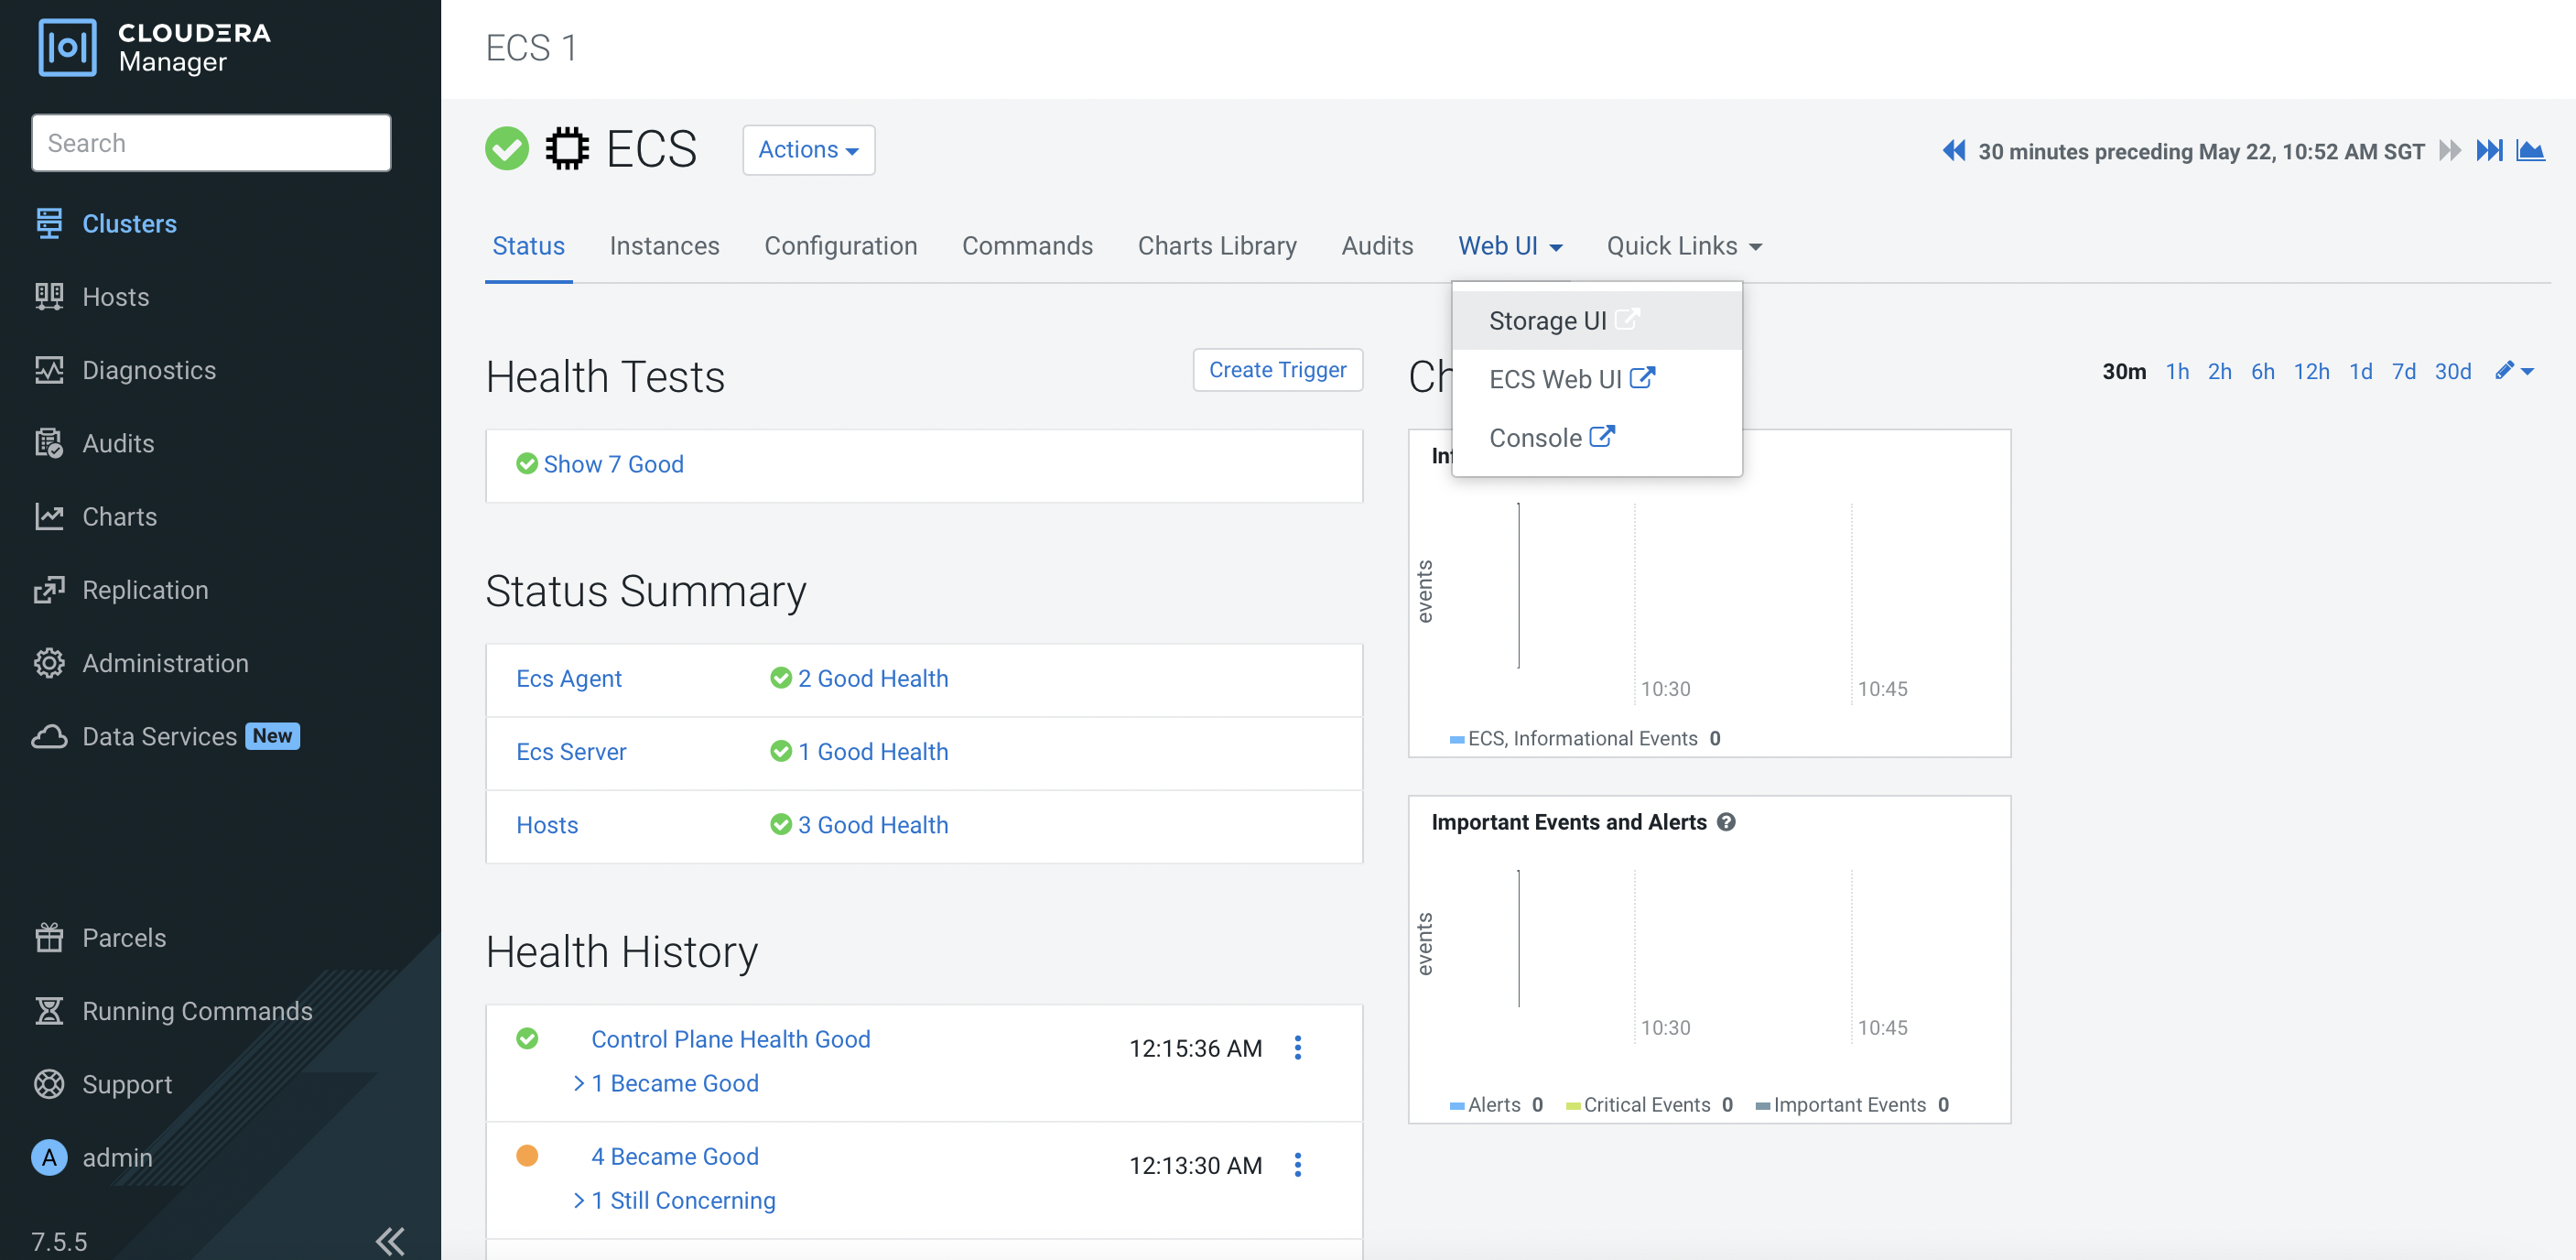
Next Step
- Proceed to configure CDP PvC Data Services in this topic.