Vault Deployment
This article describes the steps to deploy the external Hashicorp Vault in the designated Vault server based on the guidelines published in this link.
- Install the following software package.
# yum install -y yum-utils Add the repo.
# yum-config-manager --add-repo https://rpm.releases.hashicorp.com/RHEL/hashicorp.repoInstall the Vault.
# yum -y install vaultCreate SSL certificate using the authorized (or self-signed) CA certificate. Example is shown below.
 # export DOMAIN=vaultnode.cdpkvm.cldr

 # openssl req -x509 \
         -sha256 -days 356 \
         -nodes \
         -newkey rsa:2048 \
         -subj "/CN=${DOMAIN}/C=SG/L=Spore" \
         -keyout hashirootCA.key -out hashirootCA.crt

 # openssl genrsa -out ${DOMAIN}.key 2048
 # cat > csr.conf <<EOF
 [ req ]
 default_bits = 2048
 prompt = no
 default_md = sha256
 req_extensions = req_ext
 distinguished_name = dn

 [ dn ]
 C = SG
 ST = Spore
 L = City
 CN = ${DOMAIN}

 [ req_ext ]
 subjectAltName = @alt_names

 [ alt_names ]
 DNS.1 = ${DOMAIN}
 IP.1 = 127.0.0.1
 IP.2 = 10.15.4.168
 EOF

 # openssl req -new -key ${DOMAIN}.key -out ${DOMAIN}.csr -config csr.conf
You should now have the following SSL certificates.
 # ls -l | grep crt
 -rw-r--r--  1 root root 1245 Jun 26 19:58 vaultnode.cdpkvm.cldr.crt
 -rw-r--r--  1 root root 1204 Jun 26 19:58 hashirootCA.crt
Copy the certificates to
/opt/vault/tlsdirectory and change the permission.# cp vaultnode.cdpkvm.cldr.crt /opt/vault/tls/ # cp hashirootCA.crt /opt/vault/tls/ # chown root:root /opt/vault/tls/vaultnode.cdpkvm.cldr.crt /opt/vault/tls/hashirootCA.crt # chmod 0644 /opt/vault/tls/vaultnode.cdpkvm.cldr.crt /opt/vault/tls/hashirootCA.crt # cp vaultnode.cdpkvm.cldr.key /opt/vault/tls/ # chown root:vault /opt/vault/tls/vaultnode.cdpkvm.cldr.key # chmod 0640 /opt/vault/tls/vaultnode.cdpkvm.cldr.keyBackup the
/etc/vault.d/vault.hclfile.# cp /etc/vault.d/vault.hcl /etc/vault.d/vault.hcl-origEdit the
/etc/vault.d/vault.hclfile. In this demo,10.15.4.188is the IP address of the Vault node.ui = true cluster_addr = "https://10.15.4.188:8201" api_addr = "https://10.15.4.188:8200" #mlock = true disable_mlock = true storage "file" { path = "/opt/vault/data" } # HTTPS listener listener "tcp" { address = "0.0.0.0:8200" tls_cert_file = "/opt/vault/tls/vaultnode.cdpkvm.cldr.crt" tls_key_file = "/opt/vault/tls/vaultnode.cdpkvm.cldr.key" tls_client_ca_file = "/opt/vault/tls/hashirootCA.crt" }Enable and start the Vault service.
 # systemctl enable vault.service
 # systemctl start vault.service
Check that port 8200 is up and running.
# netstat -an | grep 8200
tcp        0      0 0.0.0.0:8200            0.0.0.0:*               LISTEN
Check the status of the Vault. You might encounter the following errors and if yes, proceed with the following procedures to fix the errors.
# vault status
Error checking seal status: Get "https://127.0.0.1:8200/v1/sys/seal-status": x509: cannot validate certificate for 127.0.0.1 because it doesn't contain any IP SANs

# export VAULT_ADDR=https://vaultnode.cdpkvm.cldr:8200

# vault status
Error checking seal status: Get "https://vaultnode.cdpkvm.cldr:8200/v1/sys/seal-status": x509: certificate signed by unknown authority

# cp hashirootCA.crt /etc/pki/ca-trust/source/anchors/
# update-ca-trust extract

# vault status
Key                Value
---                -----
Seal Type          shamir
Initialized        false
Sealed             true
Total Shares       0
Threshold          0
Unseal Progress    0/0
Unseal Nonce       n/a
Version            1.11.0
Build Date         2022-06-17T15:48:44Z
Storage Type       file
HA Enabled         false
Initialize the Vault operator. Jot down the produced root token and its associated
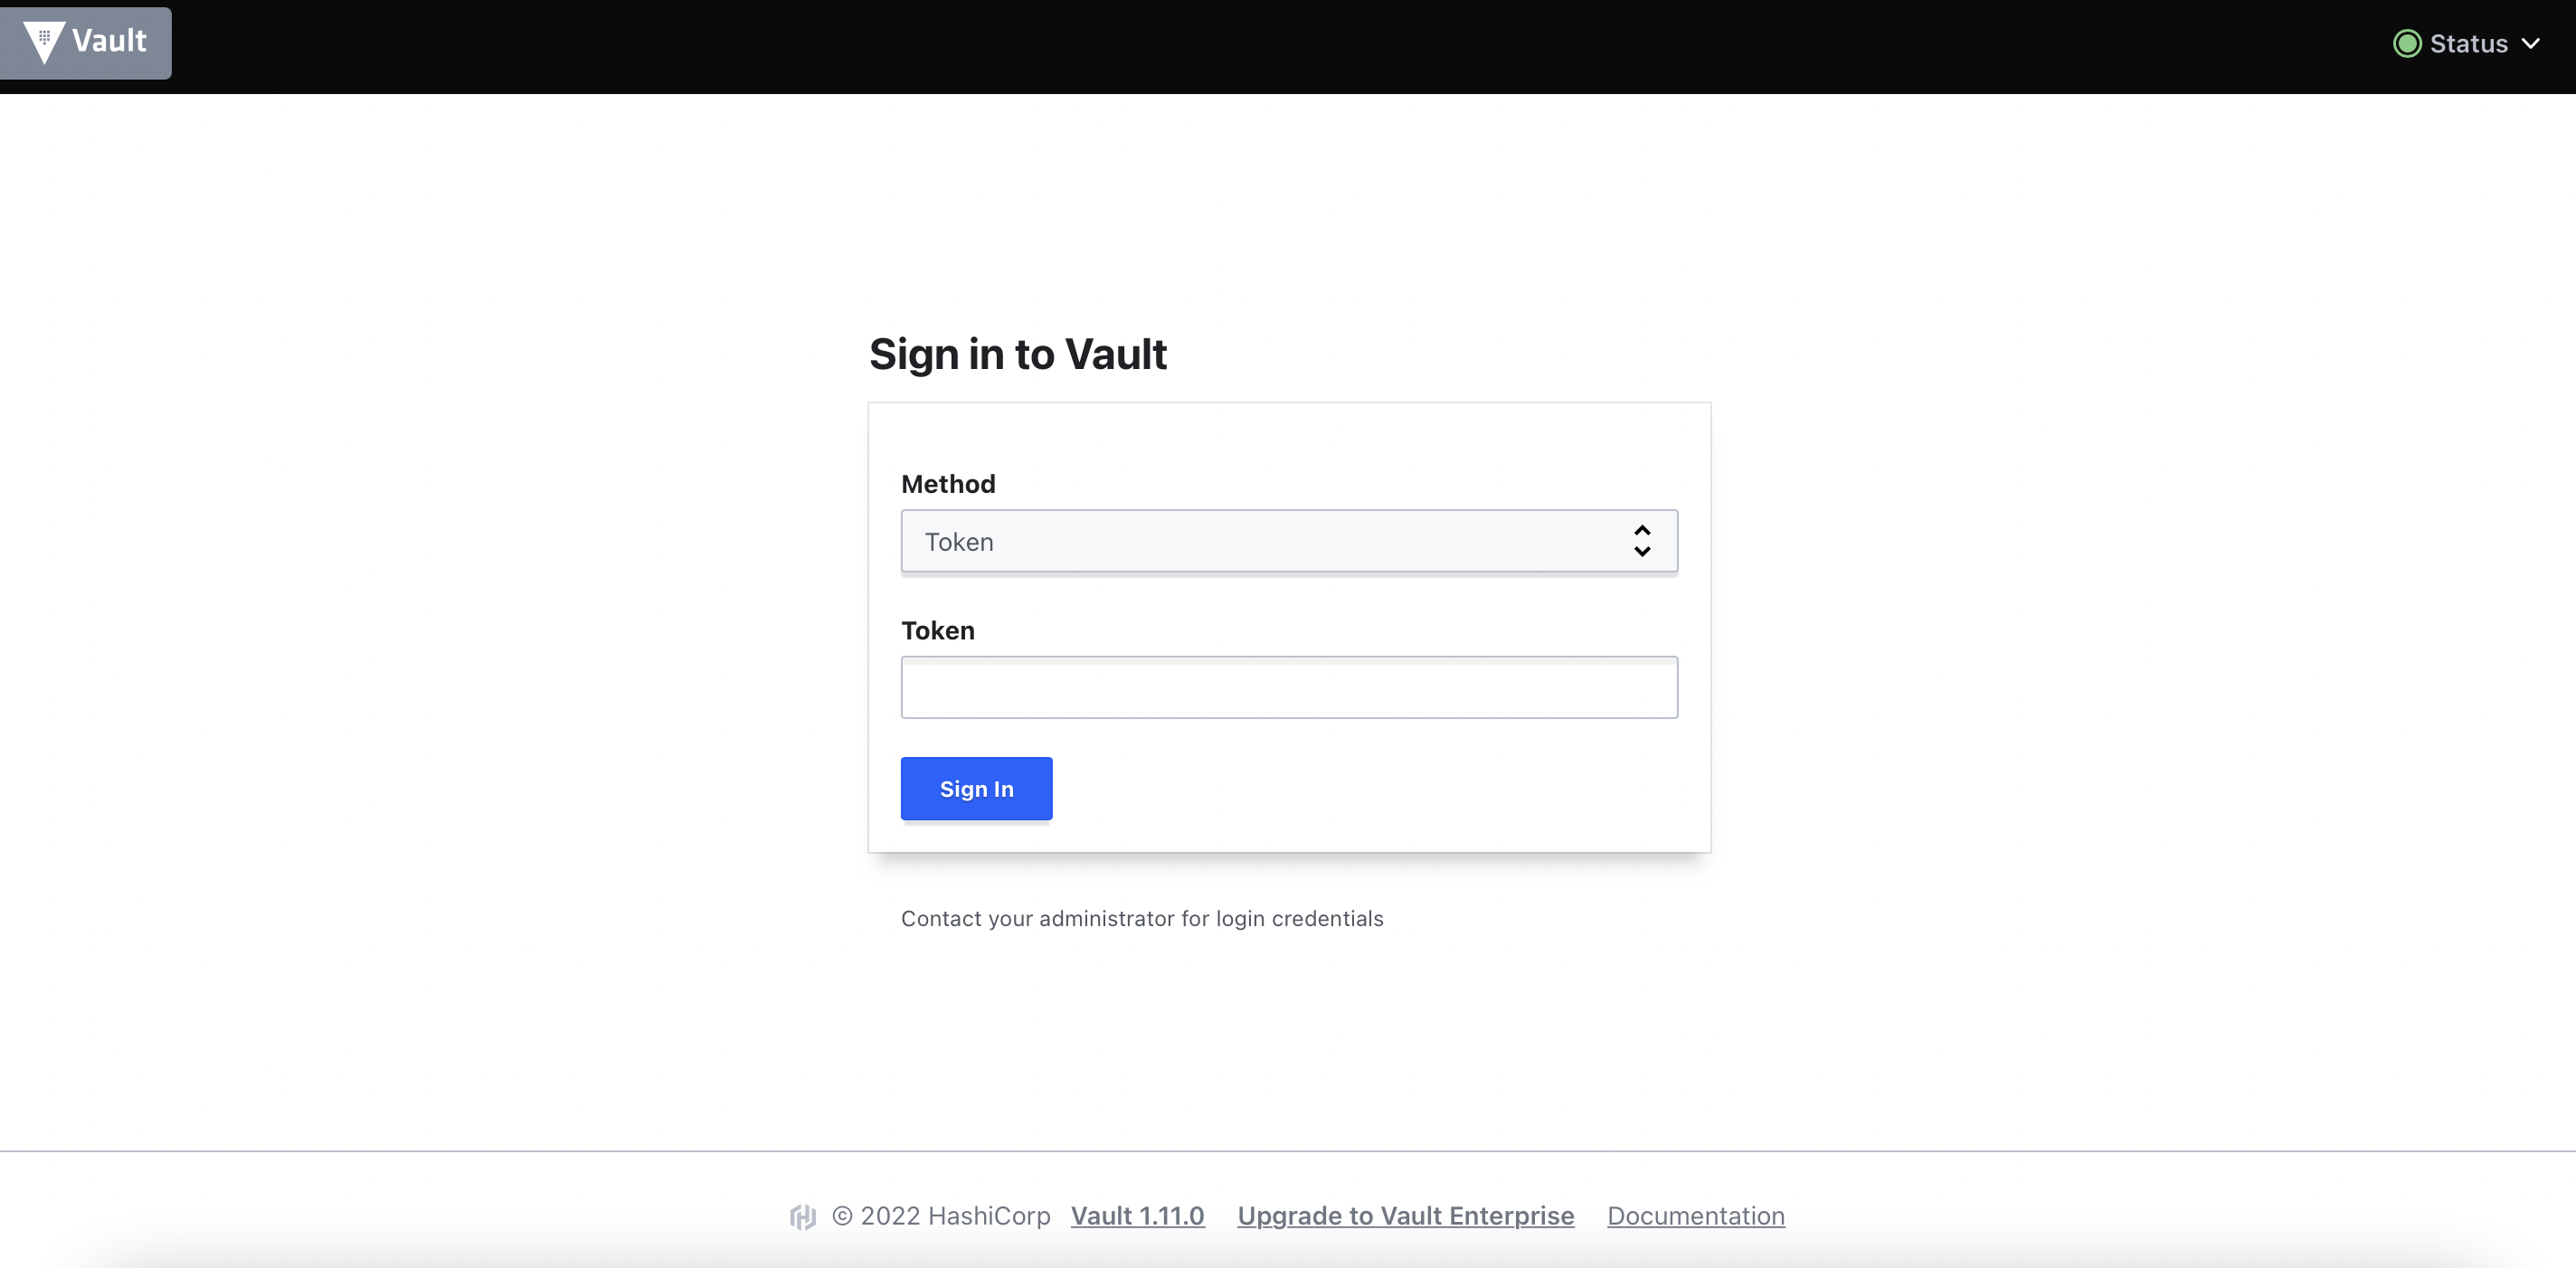
Unseal keyto unseal the Vault when needed.# vault operator initYou may now log in to the SSL-enabled Vault portal
https://vaultnode.cdpkvm.cldr:8200.